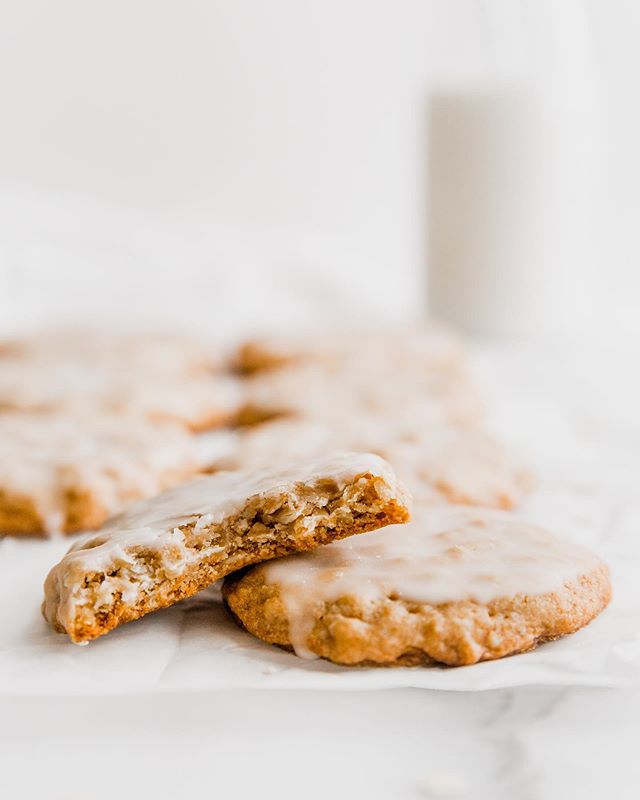
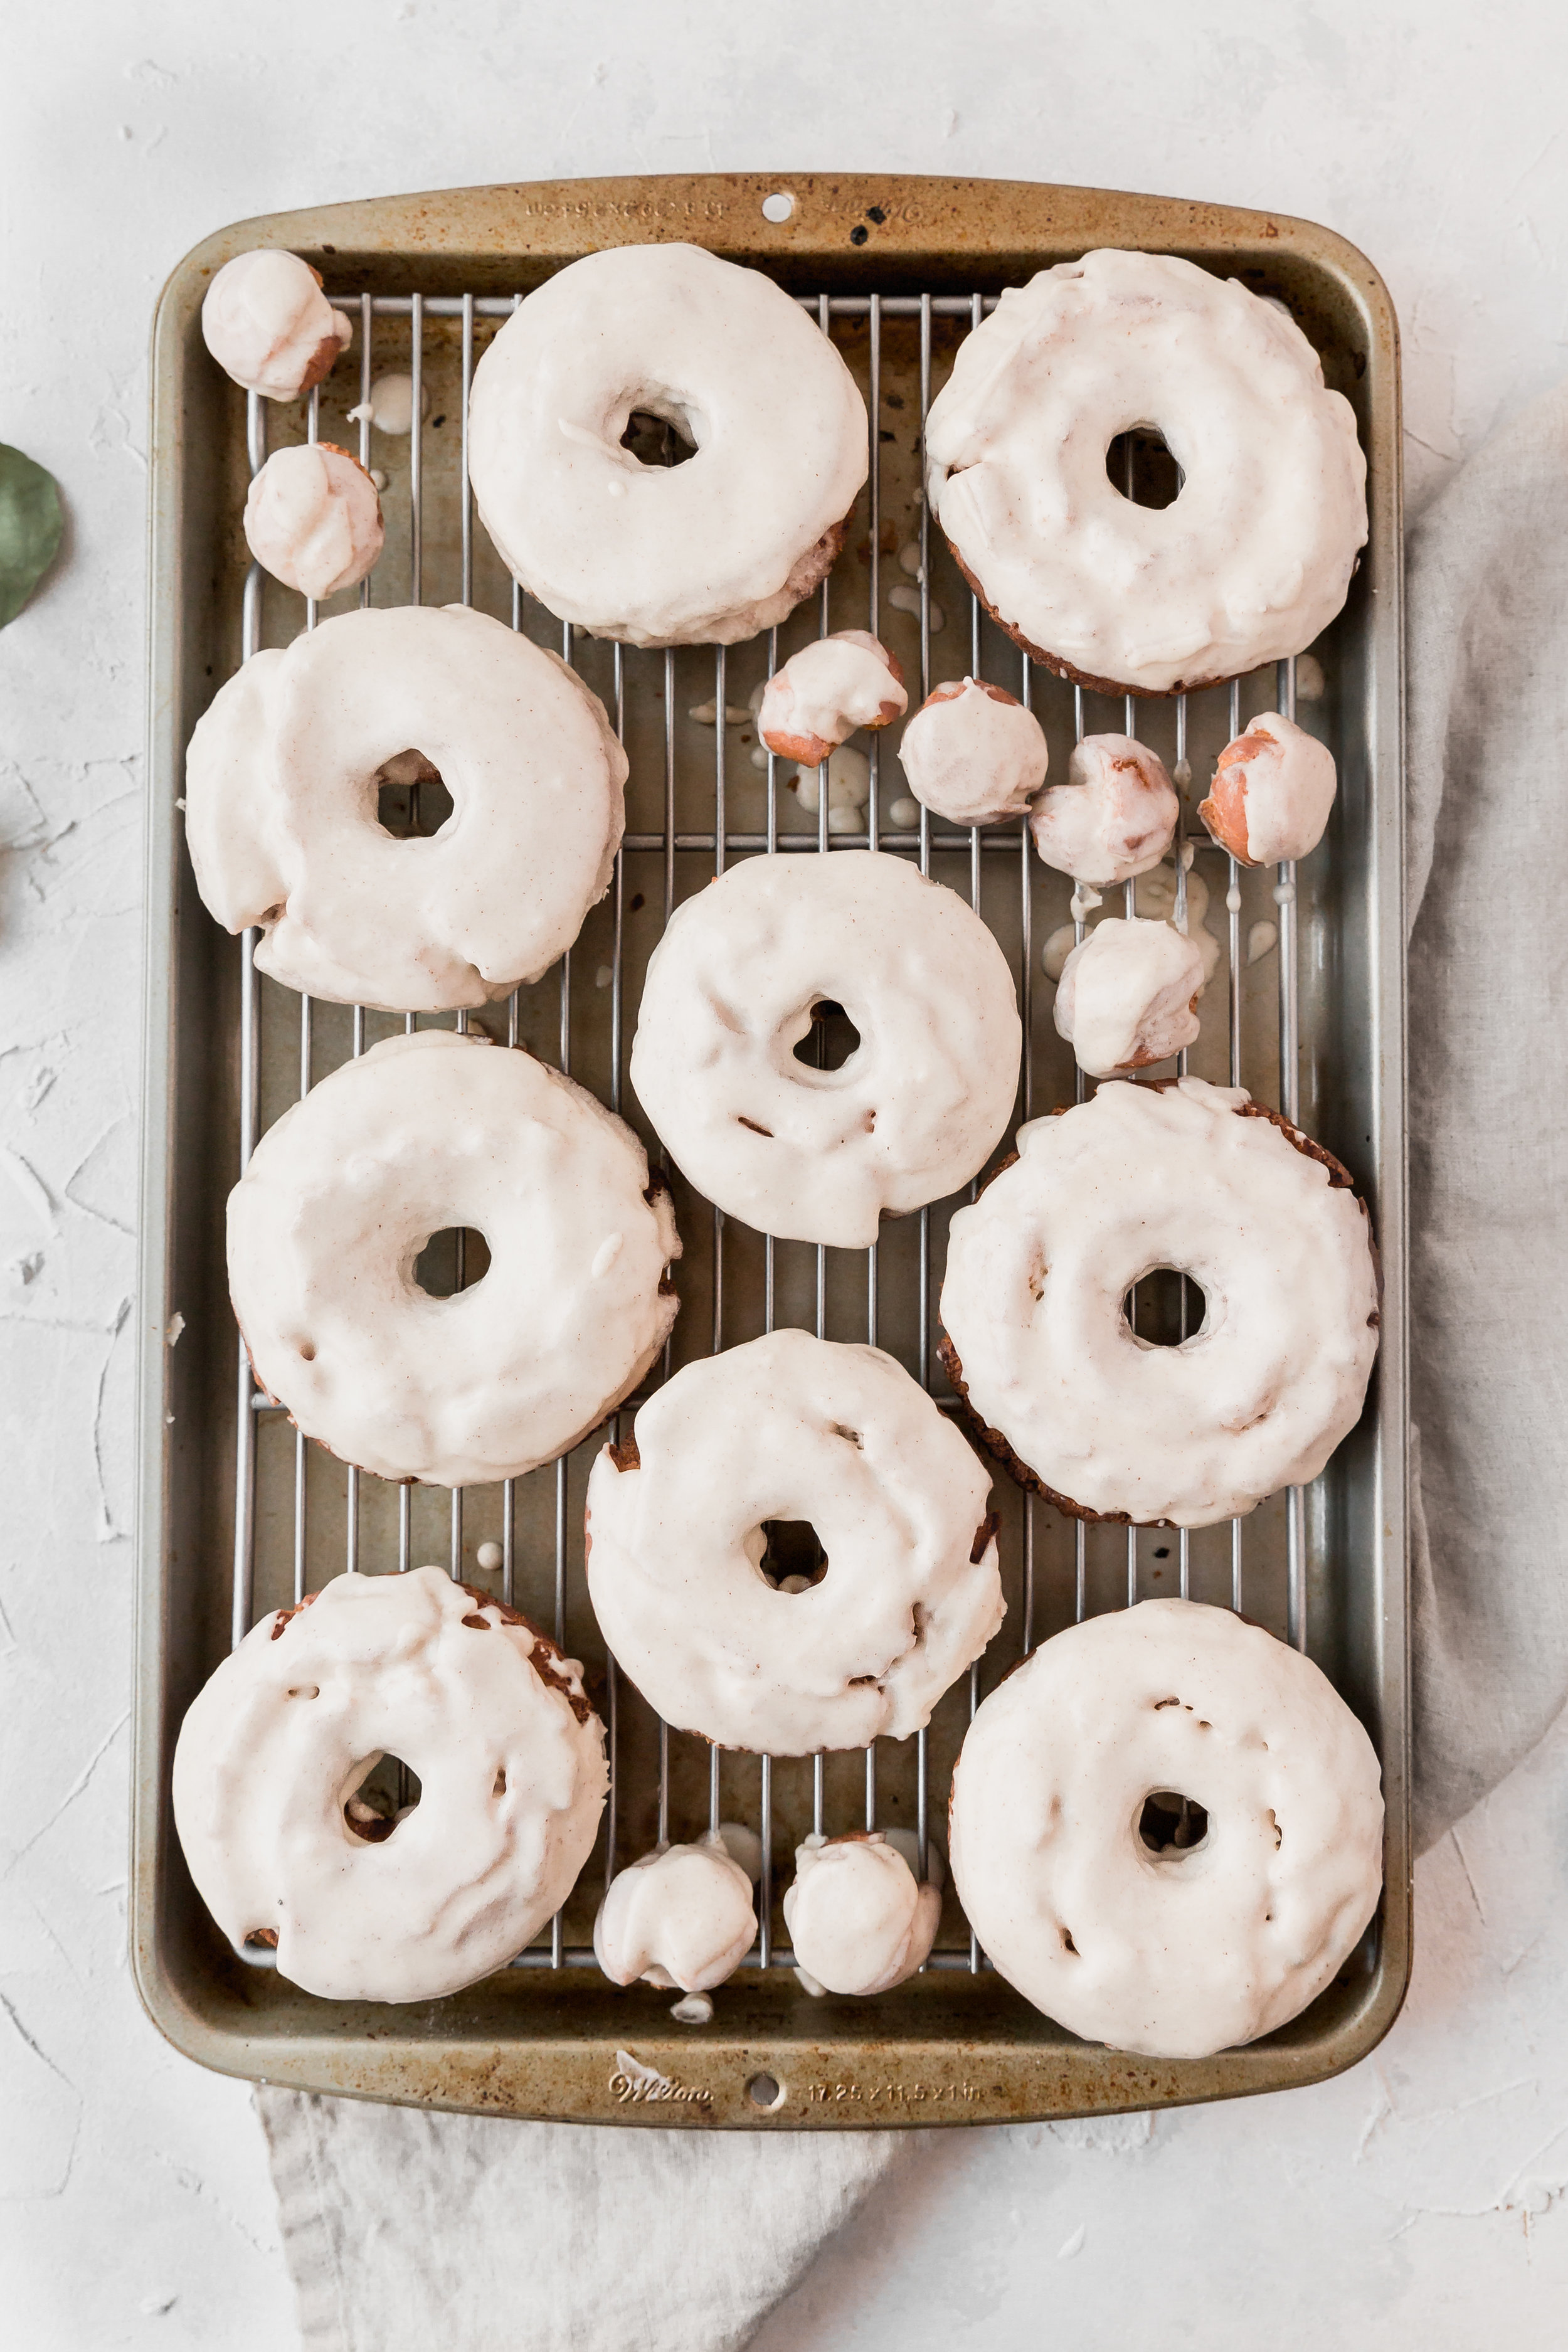
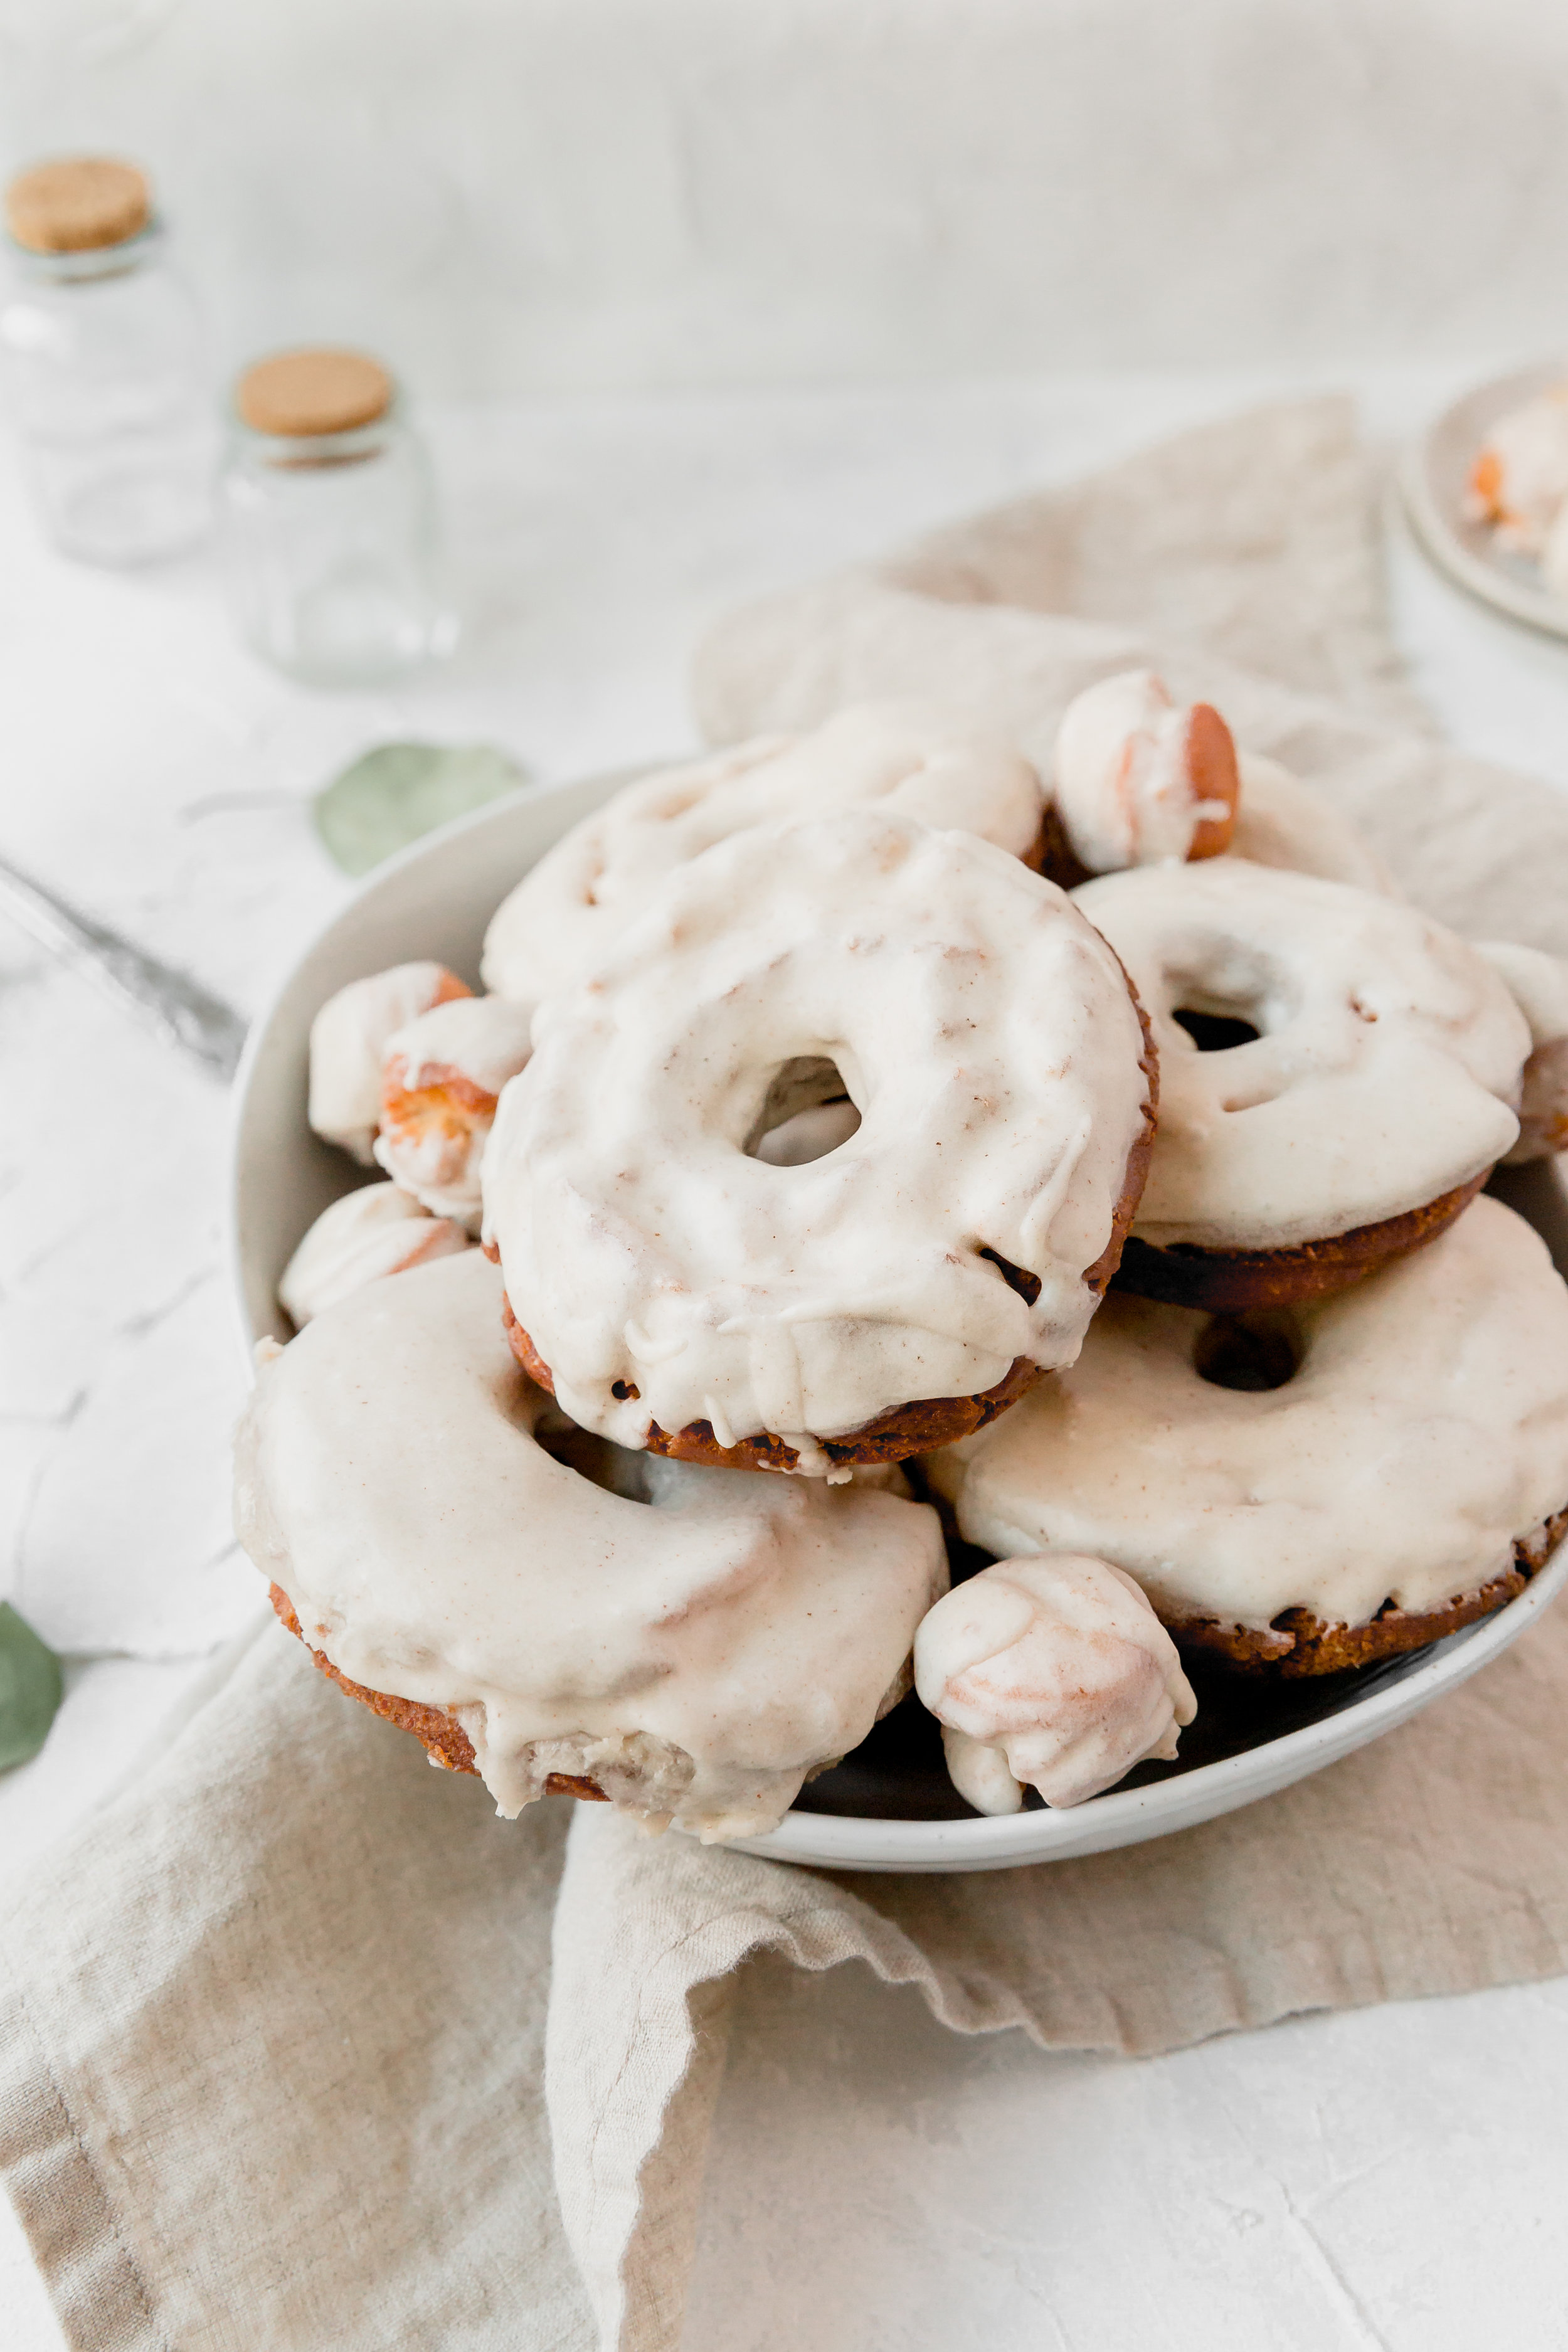
Old Fashioned Sour Cream Donuts with a Brown Butter Glaze
/
It has been a snowy February this year. And by that I mean that it is now officially the snowiest February ever recorded in the Twin Cities with over 30 inches of snow - and there is still more snow in the forecast before the end of the month. There is just snow EVERYWHERE. Thankfully Minnesota is no stranger to snow so the main roads get plowed and salted quickly. With each plow/shoveling the snow banks along the roads and sidewalks are growing in height - the ones around us are as tall as my knees! It’s fun to see all of the snow, but I think that Alex and I are both ready for some warmer weather. Only 22 more days until Match Day, and then we will see if we are moving somewhere warmer or not! But in the meantime, I will just be over here craving donuts every time it is cozy and snowy outside...which has been almost every day in February!

Ever since living in Portland where amazing donuts are always at your fingertips, from the gourmet donuts at Blue Star Donuts to the mini size donuts at Pip’s Original Donuts, I have become a huge donut fan. I don’t know exactly when donuts became the new cupcake, but I couldn’t be happier, said my non-cupcake loving self. We’ve got a pretty good donut scene here in the Twin Cities too, with one of the more well known donut shops just a couple blocks away - which is, dangerous. Personally, I love more classic types of donuts with a gourmet twist to them, as opposed to the donuts with fun, unique toppings, such as cereal, bacon, or cookies.
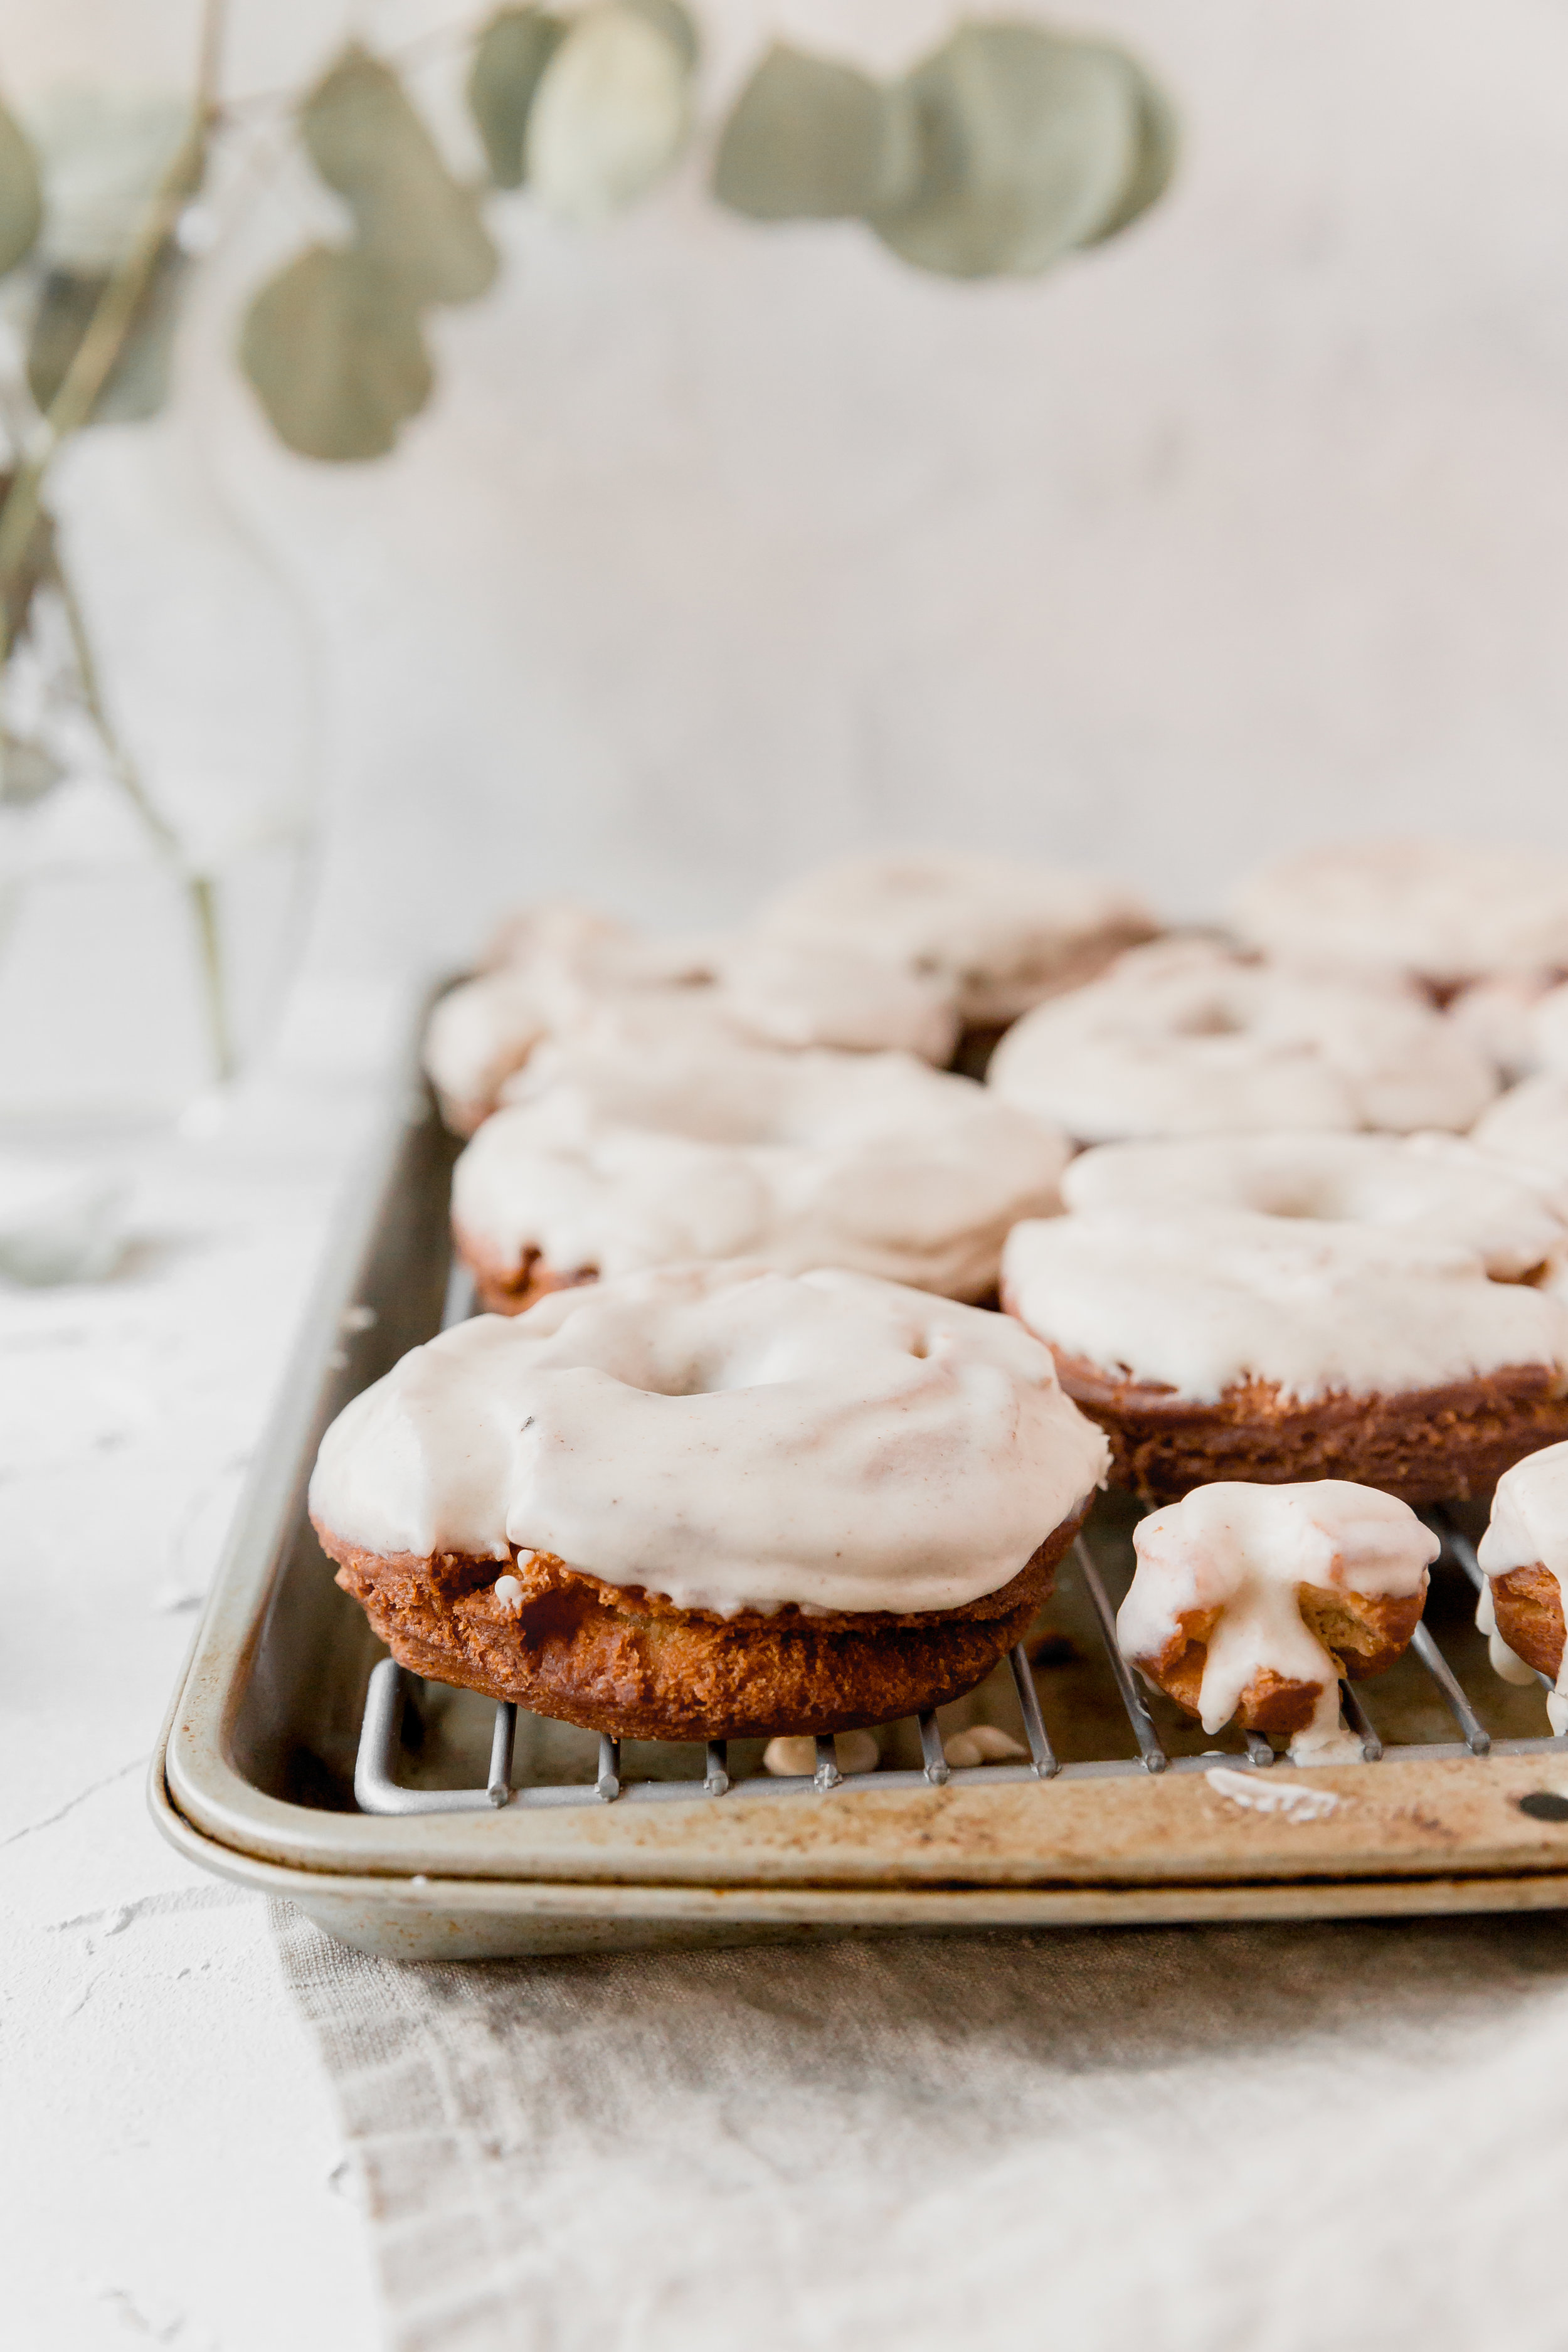
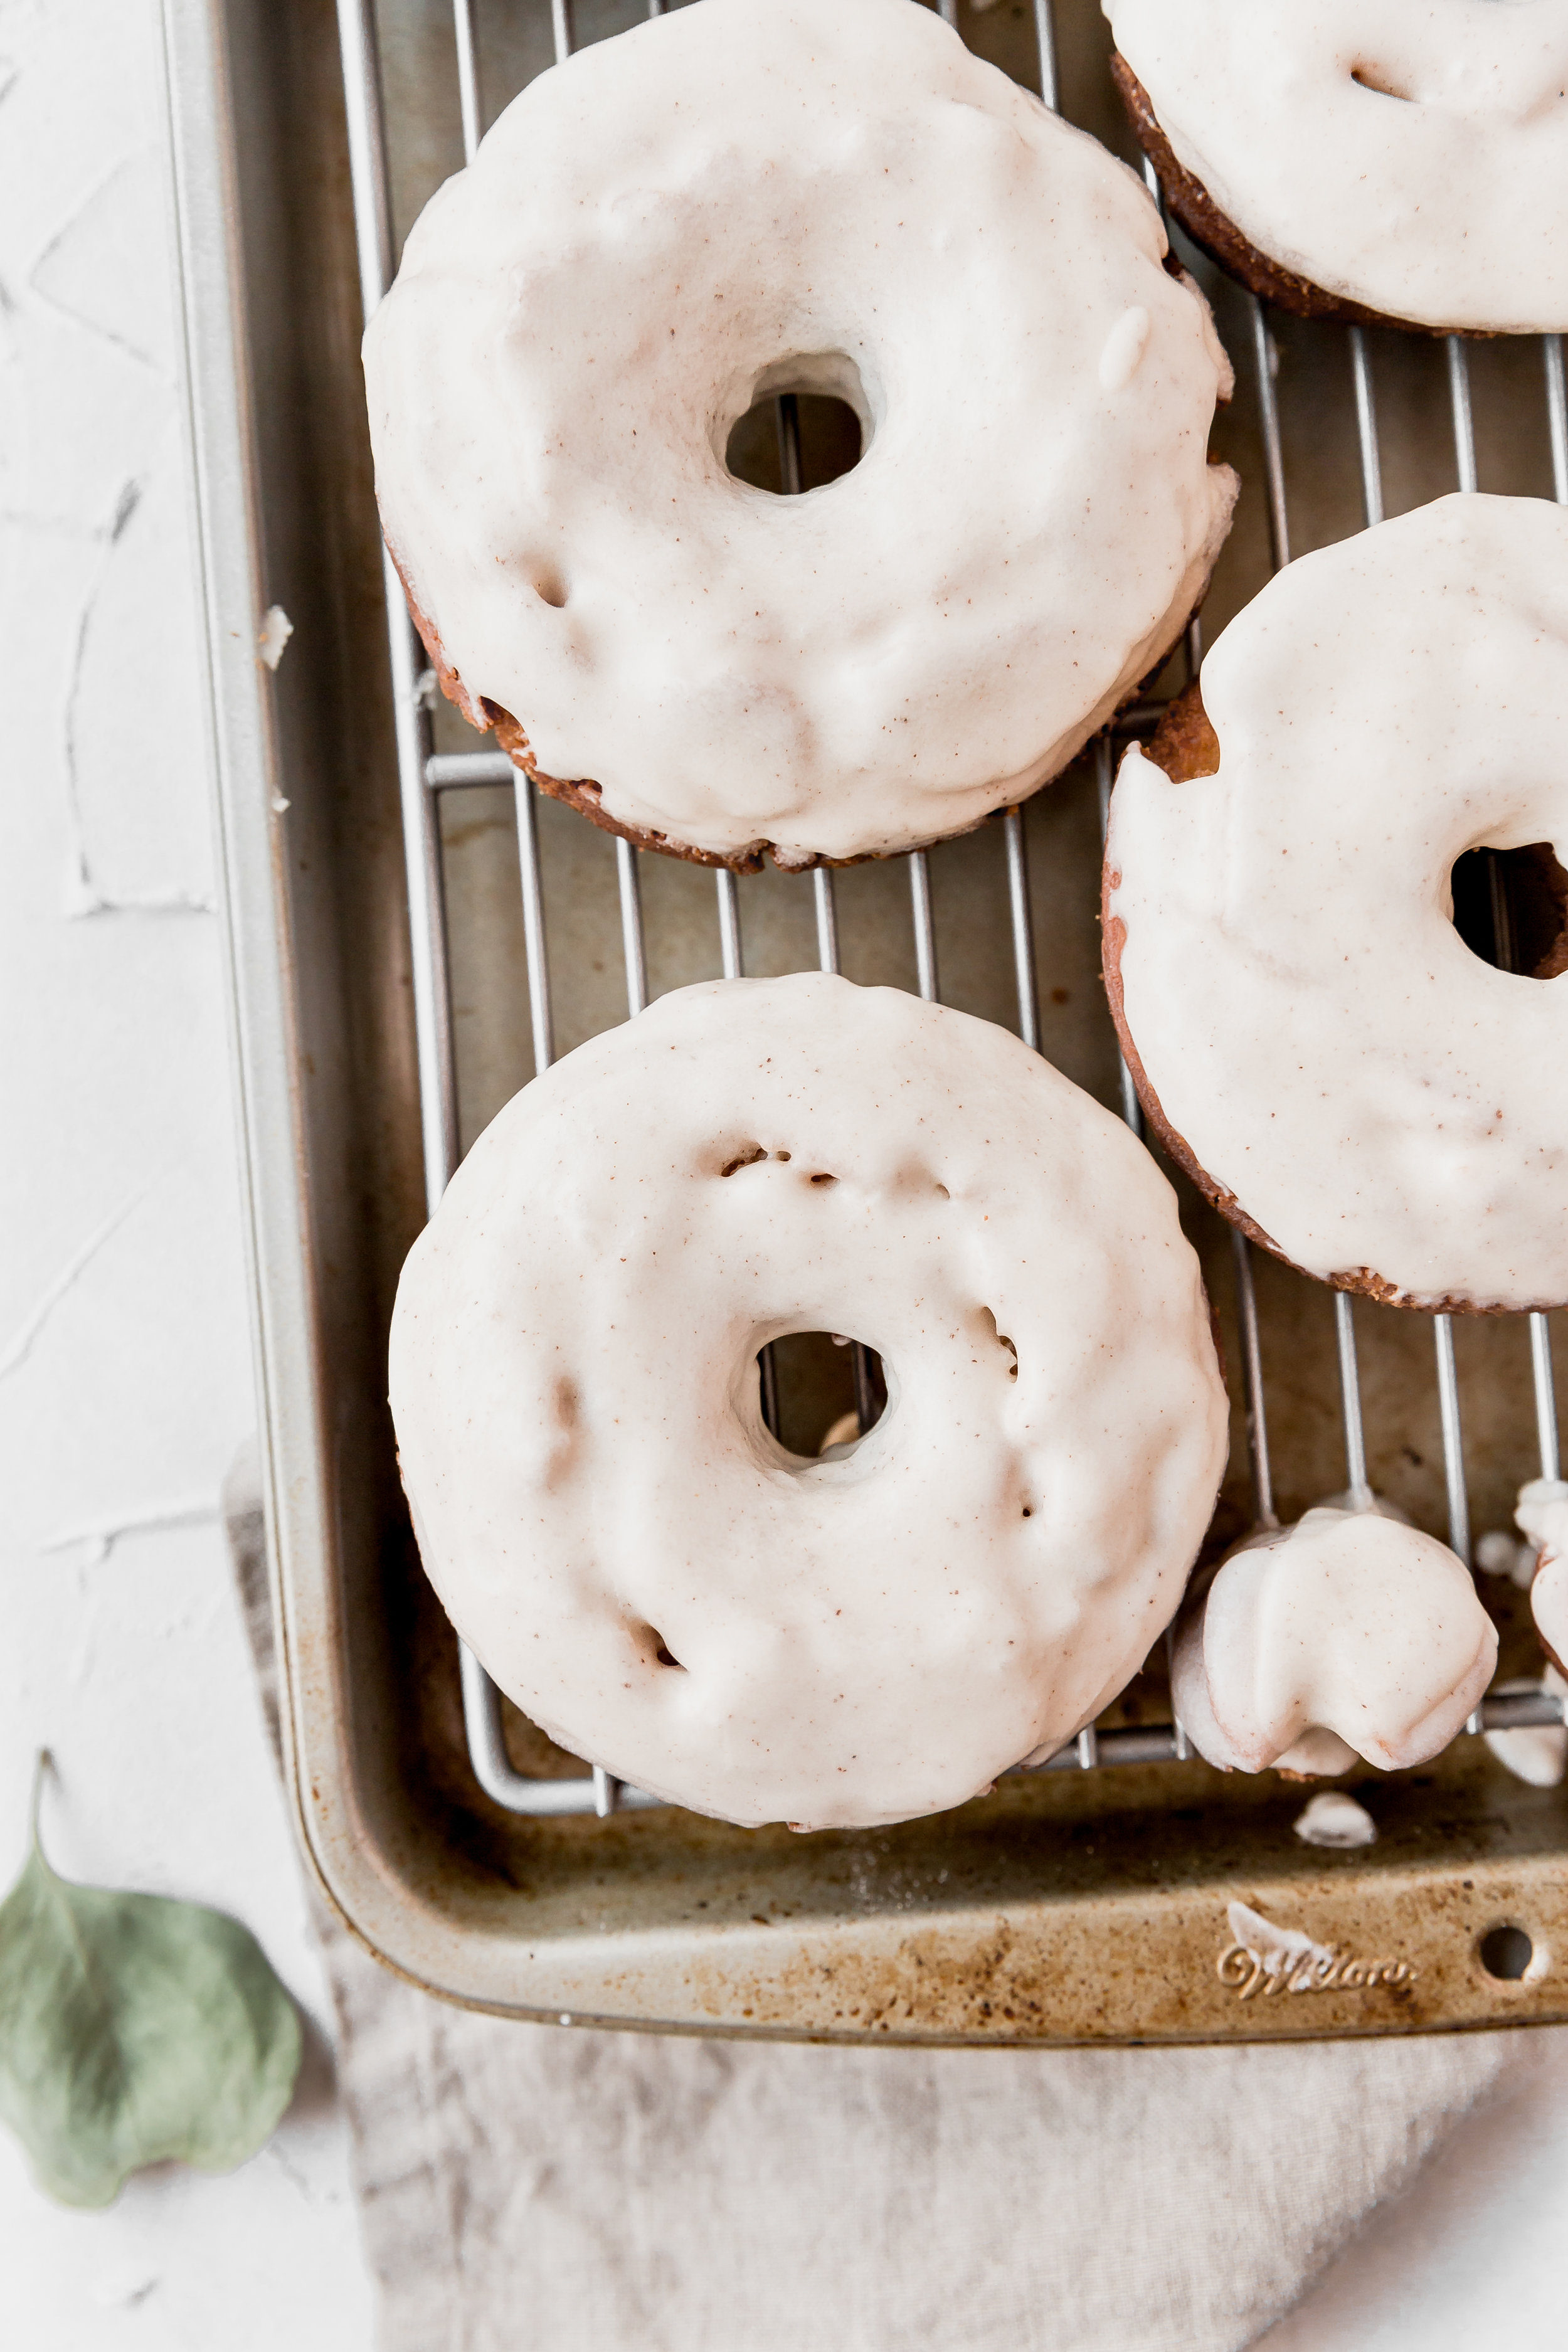
My all time favorite type of donut is the old fashioned donut. I love how they have a bit more crunch on the outside than other donuts, while still maintaining a soft, moist dough on the inside. The increased surface area, thanks to the ridges and indentations on old fashioned donuts, that allow for more glaze isn’t a bad thing either! ;)
So how do you make donuts? Since old fashioned donuts are a subset of cake donuts, you don’t need to mess with yeast and rising times in order to make these. However, we will need to deep fry these donuts, which I know can intimidate lots of home bakers. Ever since I developed my take on cronuts I have become more comfortable with deep frying. The biggest things to help with your success is to have a large pot that will allow for 2-3 inches of oil without getting too close to the top, a thermometer to attach to the side of the pot (like this one), and a utensil (such as a spider spatula) to safely get the donuts in and out of the pot.
Honestly, once you get the hang of it, it is fun to watch the dough cook in a matter of minutes right before your eyes. And since old fashioned donuts crack as they cook, it is even more fun to watch! If you are still feeling nervous about deep frying, I recommend watching how to videos about deep frying on youtube if you are a visual learner like me!
Trust me, these donuts are worth the effort.

Old Fashioned Sour Cream Donuts with a Brown Butter Glaze
Prep time:
Wait time:
Bake time:
Serves: 9 donutsIngredients:
- 3 1/2 cups (516 grams) cake flour
- 1 Tablespoon baking powder
- 1 teaspoon salt
- 1 teaspoon cinnamon
- 1/2 teaspoon nutmeg
- 1 cup sugar
- 6 Tablespoons unsalted butter, room temperature, divided
- 2 egg yolks
- 1 1/4 cups sour cream
- 1 1/2 teaspoons vanilla, divided
- 2 1/2 cups powdered sugar, sifted
- 6 Tablespoons milk
- Pinch of salt
Instructions:
- Line a large bowl with a couple long pieces of plastic wrap so that the plastic wrap hangs over the edge of the bowl. Set aside.
- In a medium sized bowl, sift together the cake flour, baking powder, salt, cinnamon, and nutmeg. Set aside.
- In a standmixer fitted with a paddle attachment, mix together the sugar, 2 Tablespoons butter, and the egg yolks until light.
- Add the sour cream and 1 teaspoon vanilla. Mix 1-2 minutes until incorporated.
- With the mixer on low speed, add the dry ingredients, one spoonful at a time. Mix just until no more flour is visible. The dough will be very sticky.
- Transfer the dough to the plastic wrap lined bowl. Cover the dough with the overhanging plastic wrap. Refrigerate for 1 hour to overnight.
- Once chilled, transfer the dough to a well floured surface. Roll out to a 1/2-inch thickness.
- Use a donut cookie-cutter (*) to cut out donuts. (Dip the cookie-cutter in flour between each cut to prevent sticking, allowing for easy release). Just like sugar cookies, collect the scrapes, re-roll out into a 1/2-inch thickness, and cut out more donuts. Continue this process until you can't make any more donuts. Using a 1-inch cookie-cutter or a piping tip, cut out donut holes from the remaining dough. Gently transfer the donuts to a parchment paper lined baking sheet.
- Place the donuts in the refrigerator to chill for 20-30 minutes.
- In the meantime, heat 2-3-inch of vegetable oil in a deep pot to 350F (*). The oil needs to be deep enough so that the donuts will float.
- Using a spider whisk, gently place the donuts into the oil. Fry for 1 1/2 to 2 minutes on each side. Once browned, transfer the donuts to a cooling rack heavily lined with paper towels. Fry the remaining donuts and donut holes.
- While the donuts are cooling, make the icing.
- Brown 4 Tablespoons butter: melt the butter in a saucepan over medium heat, stirring constantly with a whisk. The butter will start to foam, then quickly turn color. Once the butter is amber in color and has a nutty aroma, quickly remove from heat and transfer to a heat-proof bowl. Allow to cool for 10 minutes.
- In a standmixer fitted with a paddle attachment, mix on low-medium speed the browned butter, powdered sugar, 1/2 teaspoon vanilla, milk, and a pinch of salt. Once incorporated, increase speed to medium and mix for another minute.
- Dip the tops of the donuts into the icing, then return to the cooling rack.
- Donuts are best served warm.
(*) Baker’s Notes:
- If you do not have a donut cookie-cutter, you can substitute a 3 ½” round cookie-cutter for the outside, and a 1” cookie-cutter to cut out the donut holes.
- I used a candy thermometer to easily and safely measure the temperature of the oil.