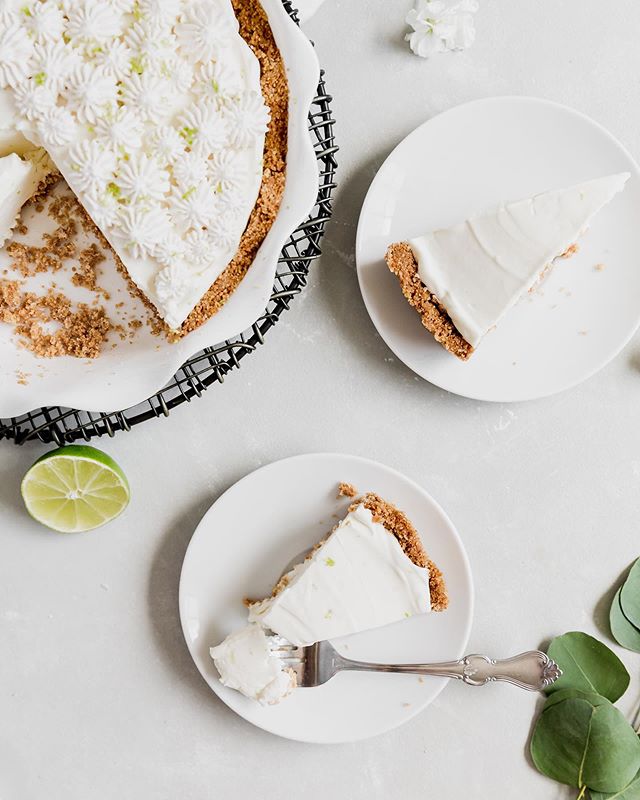
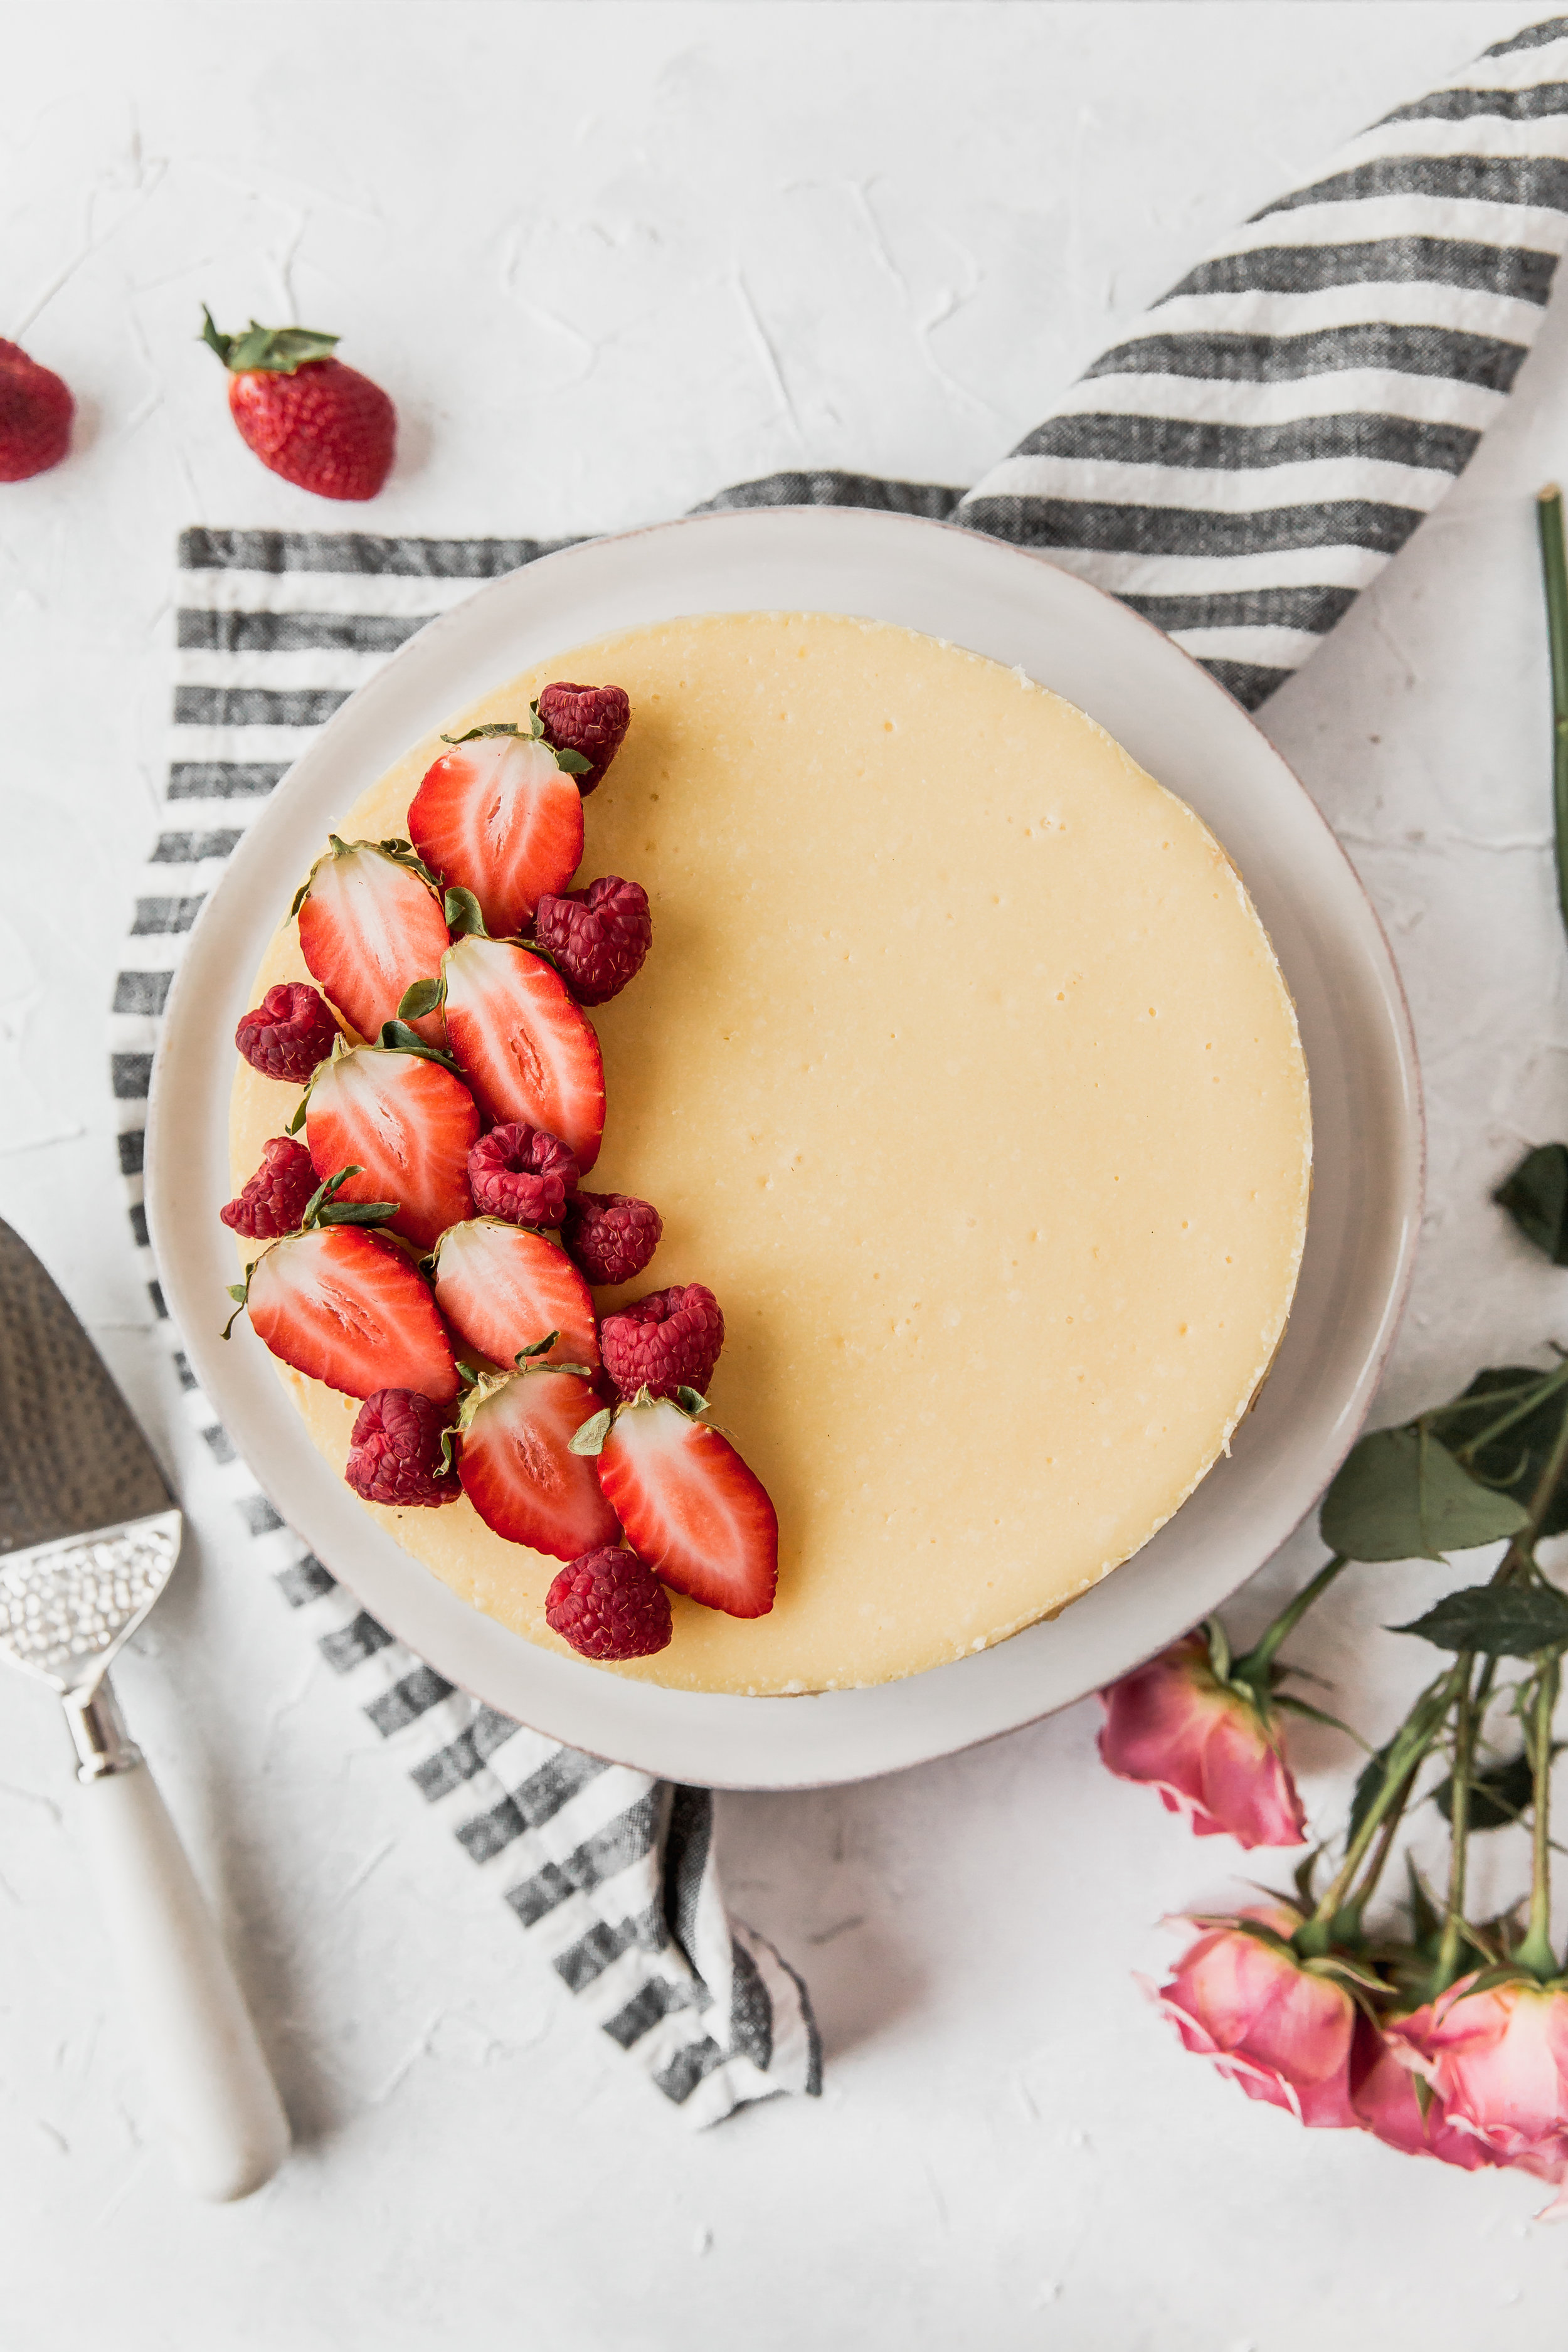
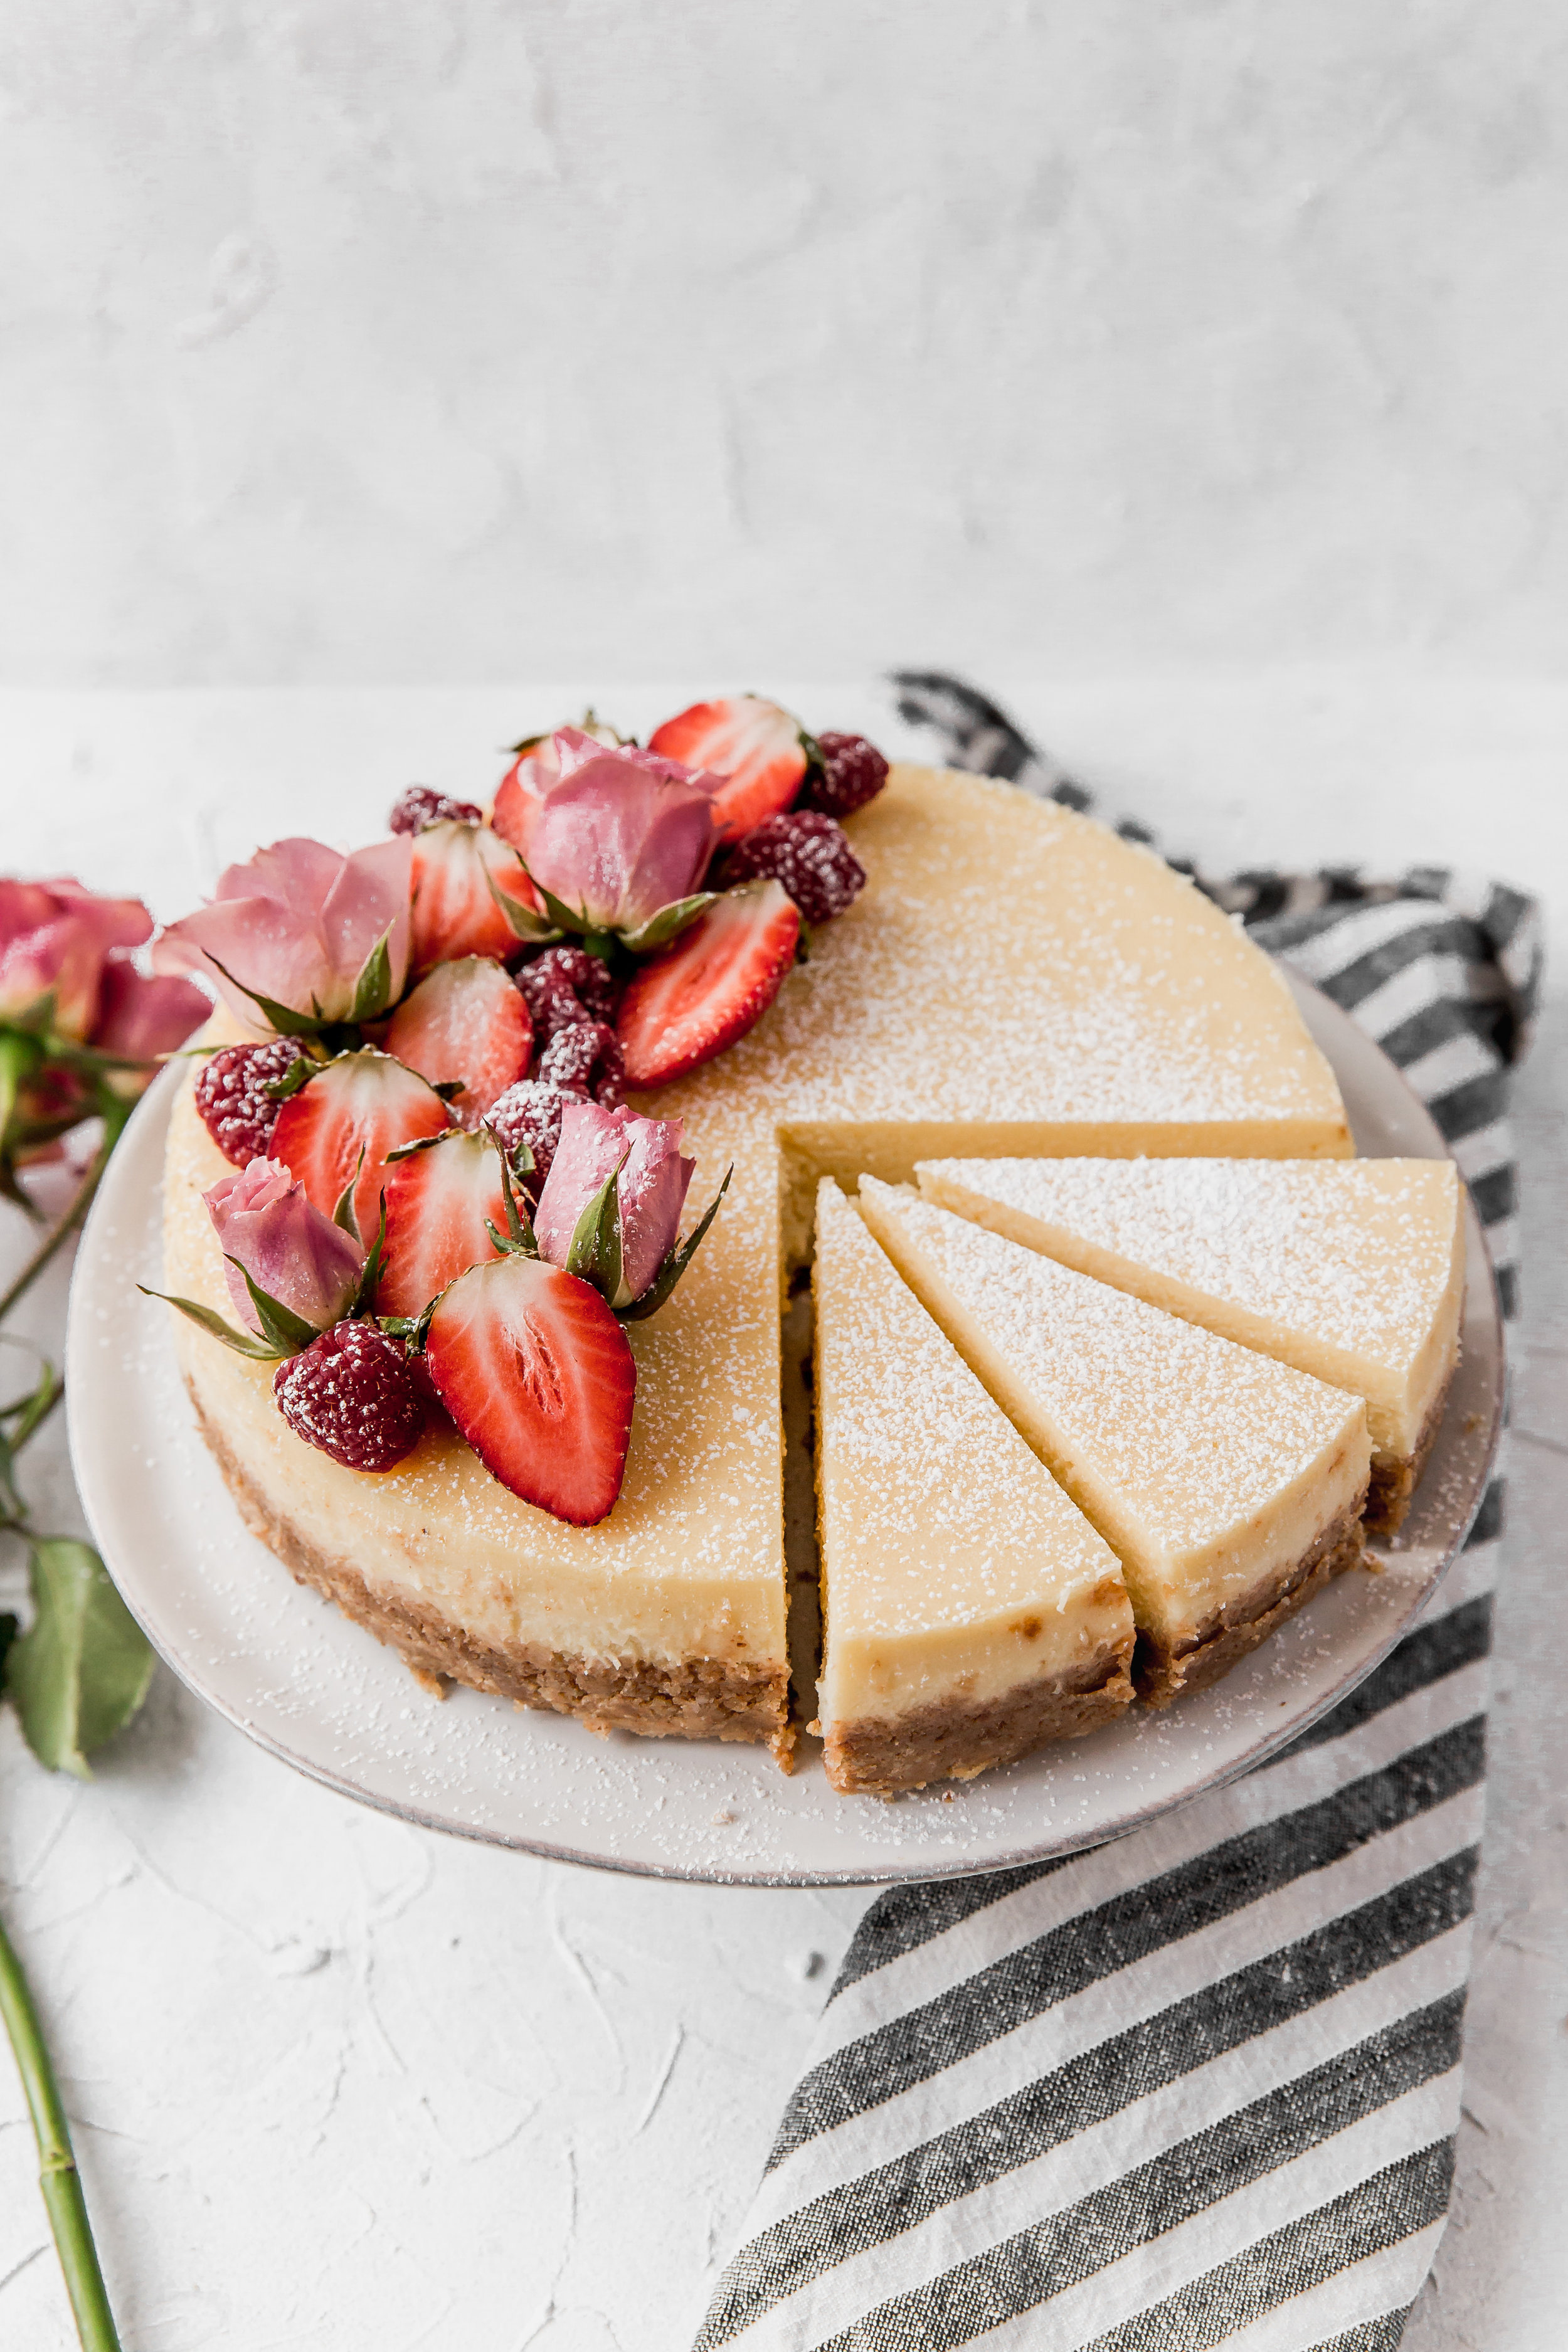
Creamy Mascarpone Cheesecake
/
And another Valentine’s Day has past, which makes 8 years of having Alex as my valentine. We tried to reminisce on all of our past Valentine’s Days, but to be honest, we had a really hard time recalling what we did to celebrate during the Valentine’s Days since getting married. Well to be honest, Alex wasn’t able to remember any of the Valentine’s Days, but thankfully I could so I had to help him out. ...And extra thankful that we had pictures that I could show him to jog his memory when my explanations weren’t enough haha!
The first one was the day after we said I love you for the first time after over 6 months of dating. Unfortunately this was our worst Valentine’s Day, so I won’t dive into that one. The second one was a bit better. We had a picnic lunch on one of the large lawns on campus. While I was waiting for Alex to arrive, I remember someone who had a bouquet of flowers in hand approach me. He plucked one flower out and handed it to me and said, “no one should have to be alone for Valentine’s Day.” *insert awkward smile here* Year 3 was one of my favorites yet. Alex set up over a hundred tea light candles on the rooftop patio at their house, had my favorite flowers waiting, and made me a home cooked meal. It was such a surprise! Year 4 was in Portland, Oregon when Alex flew up to see me. I had to work that night, but afterwards we got Voodoo Donuts, then drove to Canon Beach the next day, where we witnessed the most beautiful sunset we had ever seen. Year 5 was our first married Valentine’s Day and we made a heart shaped pizza. And that’s all we can remember.
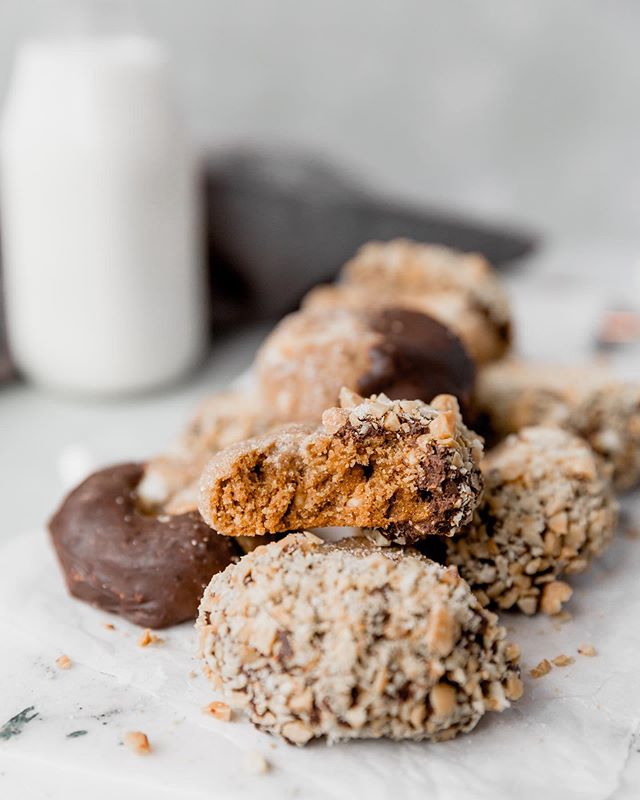
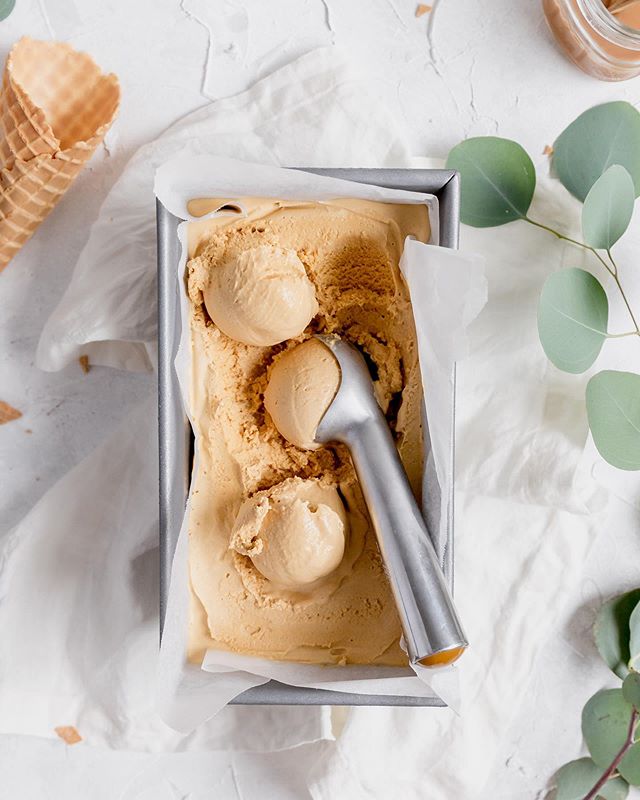
This year we did a simple celebration of our favorite romantic meal and going out for ice cream. Though I will say that as we were walking in the single digit weather with a negative degree wind chill I was questioning our sanity as we handed to get ice cream, haha.

Ok so let’s talk about cheesecake. Cheesecake is one of those desserts that usually intimidates me because it can be a bit fussy. So I wanted to provide you with as many hints and tricks as possible to make it as easy as possible for you! Like all recipes, I recommend that you read through the hints and recipe before starting so you know what to expect.
————————————————————————————————————————————————————
Secrets to a PERFECT cheesecake:
Ingredients MUST be at room temperature. Seriously. I recommend taking the refrigerated ingredients (mascarpone, cream cheese, eggs) out of the refrigerator a couple hours before you start making the cheesecake. If the cream cheese and/or mascarpone cheeses are still not at room temperature (~70F) after a couple hours, microwave them for brief intervals until the desired temperature is reached. If your ingredients are not at room temperature, you will not have a creamy cheesecake.
Don’t overbeat. This recipe takes a lot of patience, and waiting for the cheeses to become creamy is one of those times. You will be tempted to increase the mixing speed to speed up the process, but this will whip too much air into the batter, which will cause the cake to puff up, sink, shrink, and crack. Therefore, you want to stop beating as soon as the batter is smooth and creamy.
Water bath. The water bath is one of the most foolproof methods to making a cheesecake.
Low and slow. To help prevent cracking from overbaking, bake the cheesecake at a low temperature for a long time. This will help to ensure even baking.
————————————————————————————————————————————————————
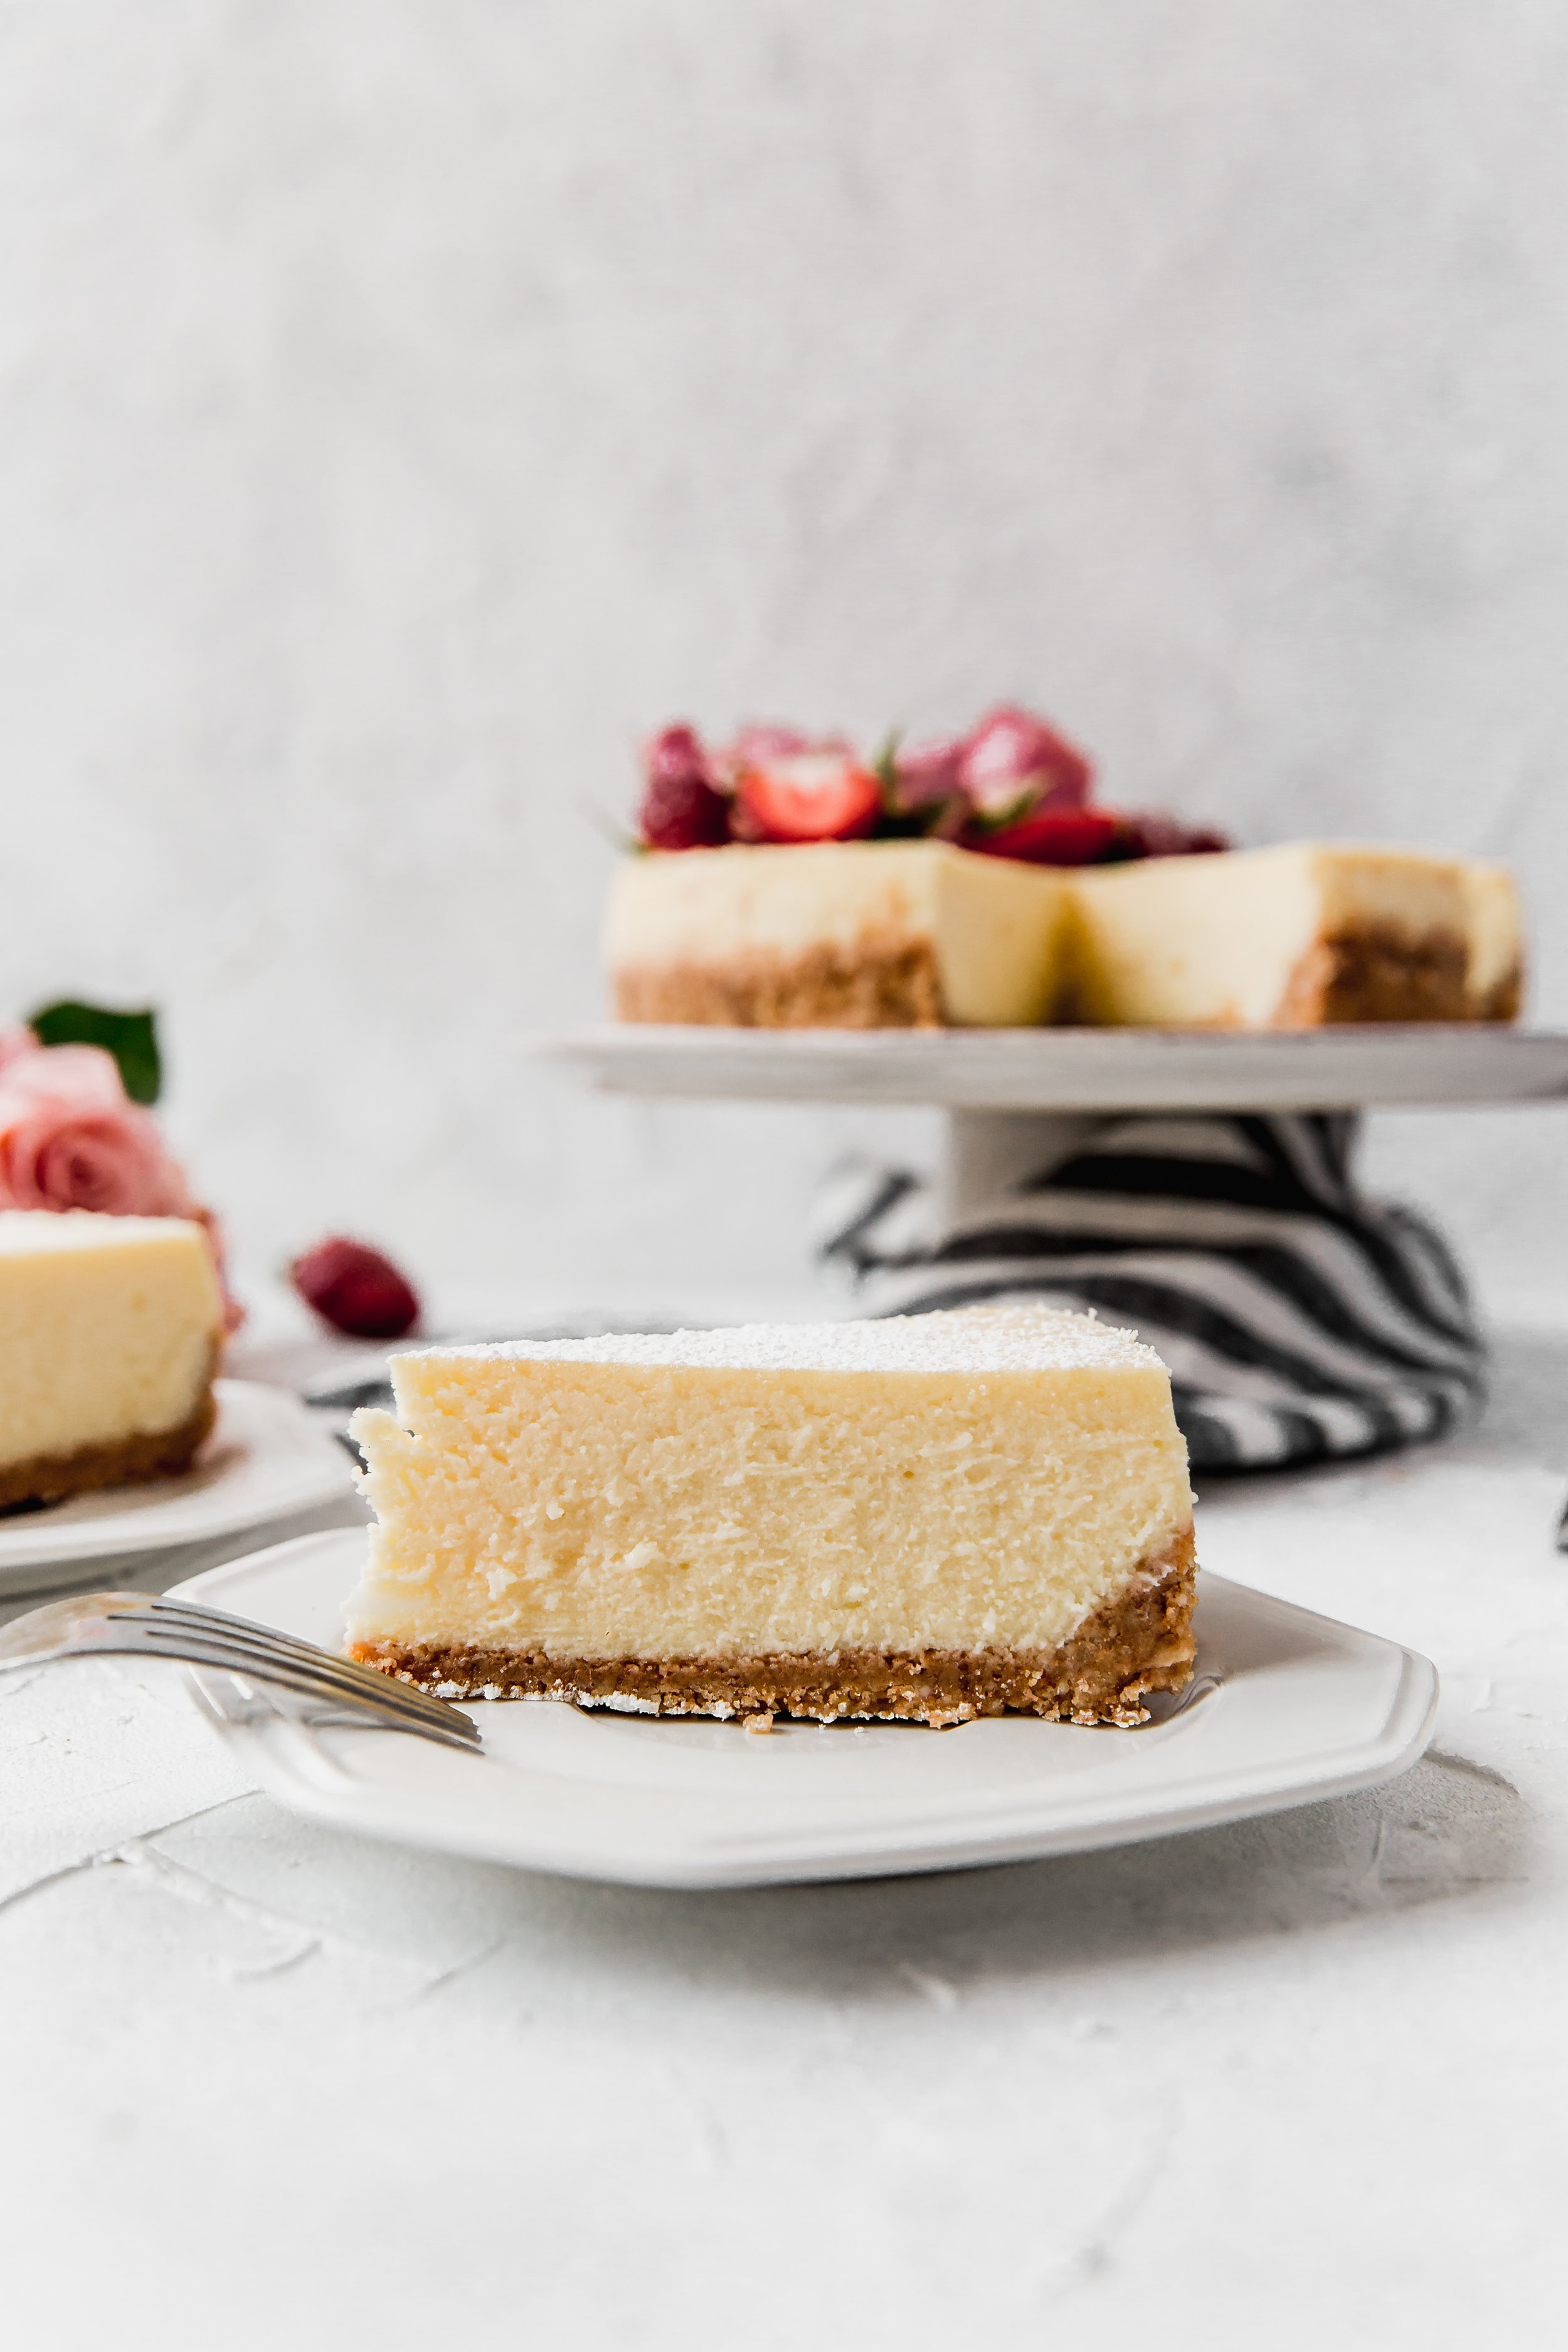
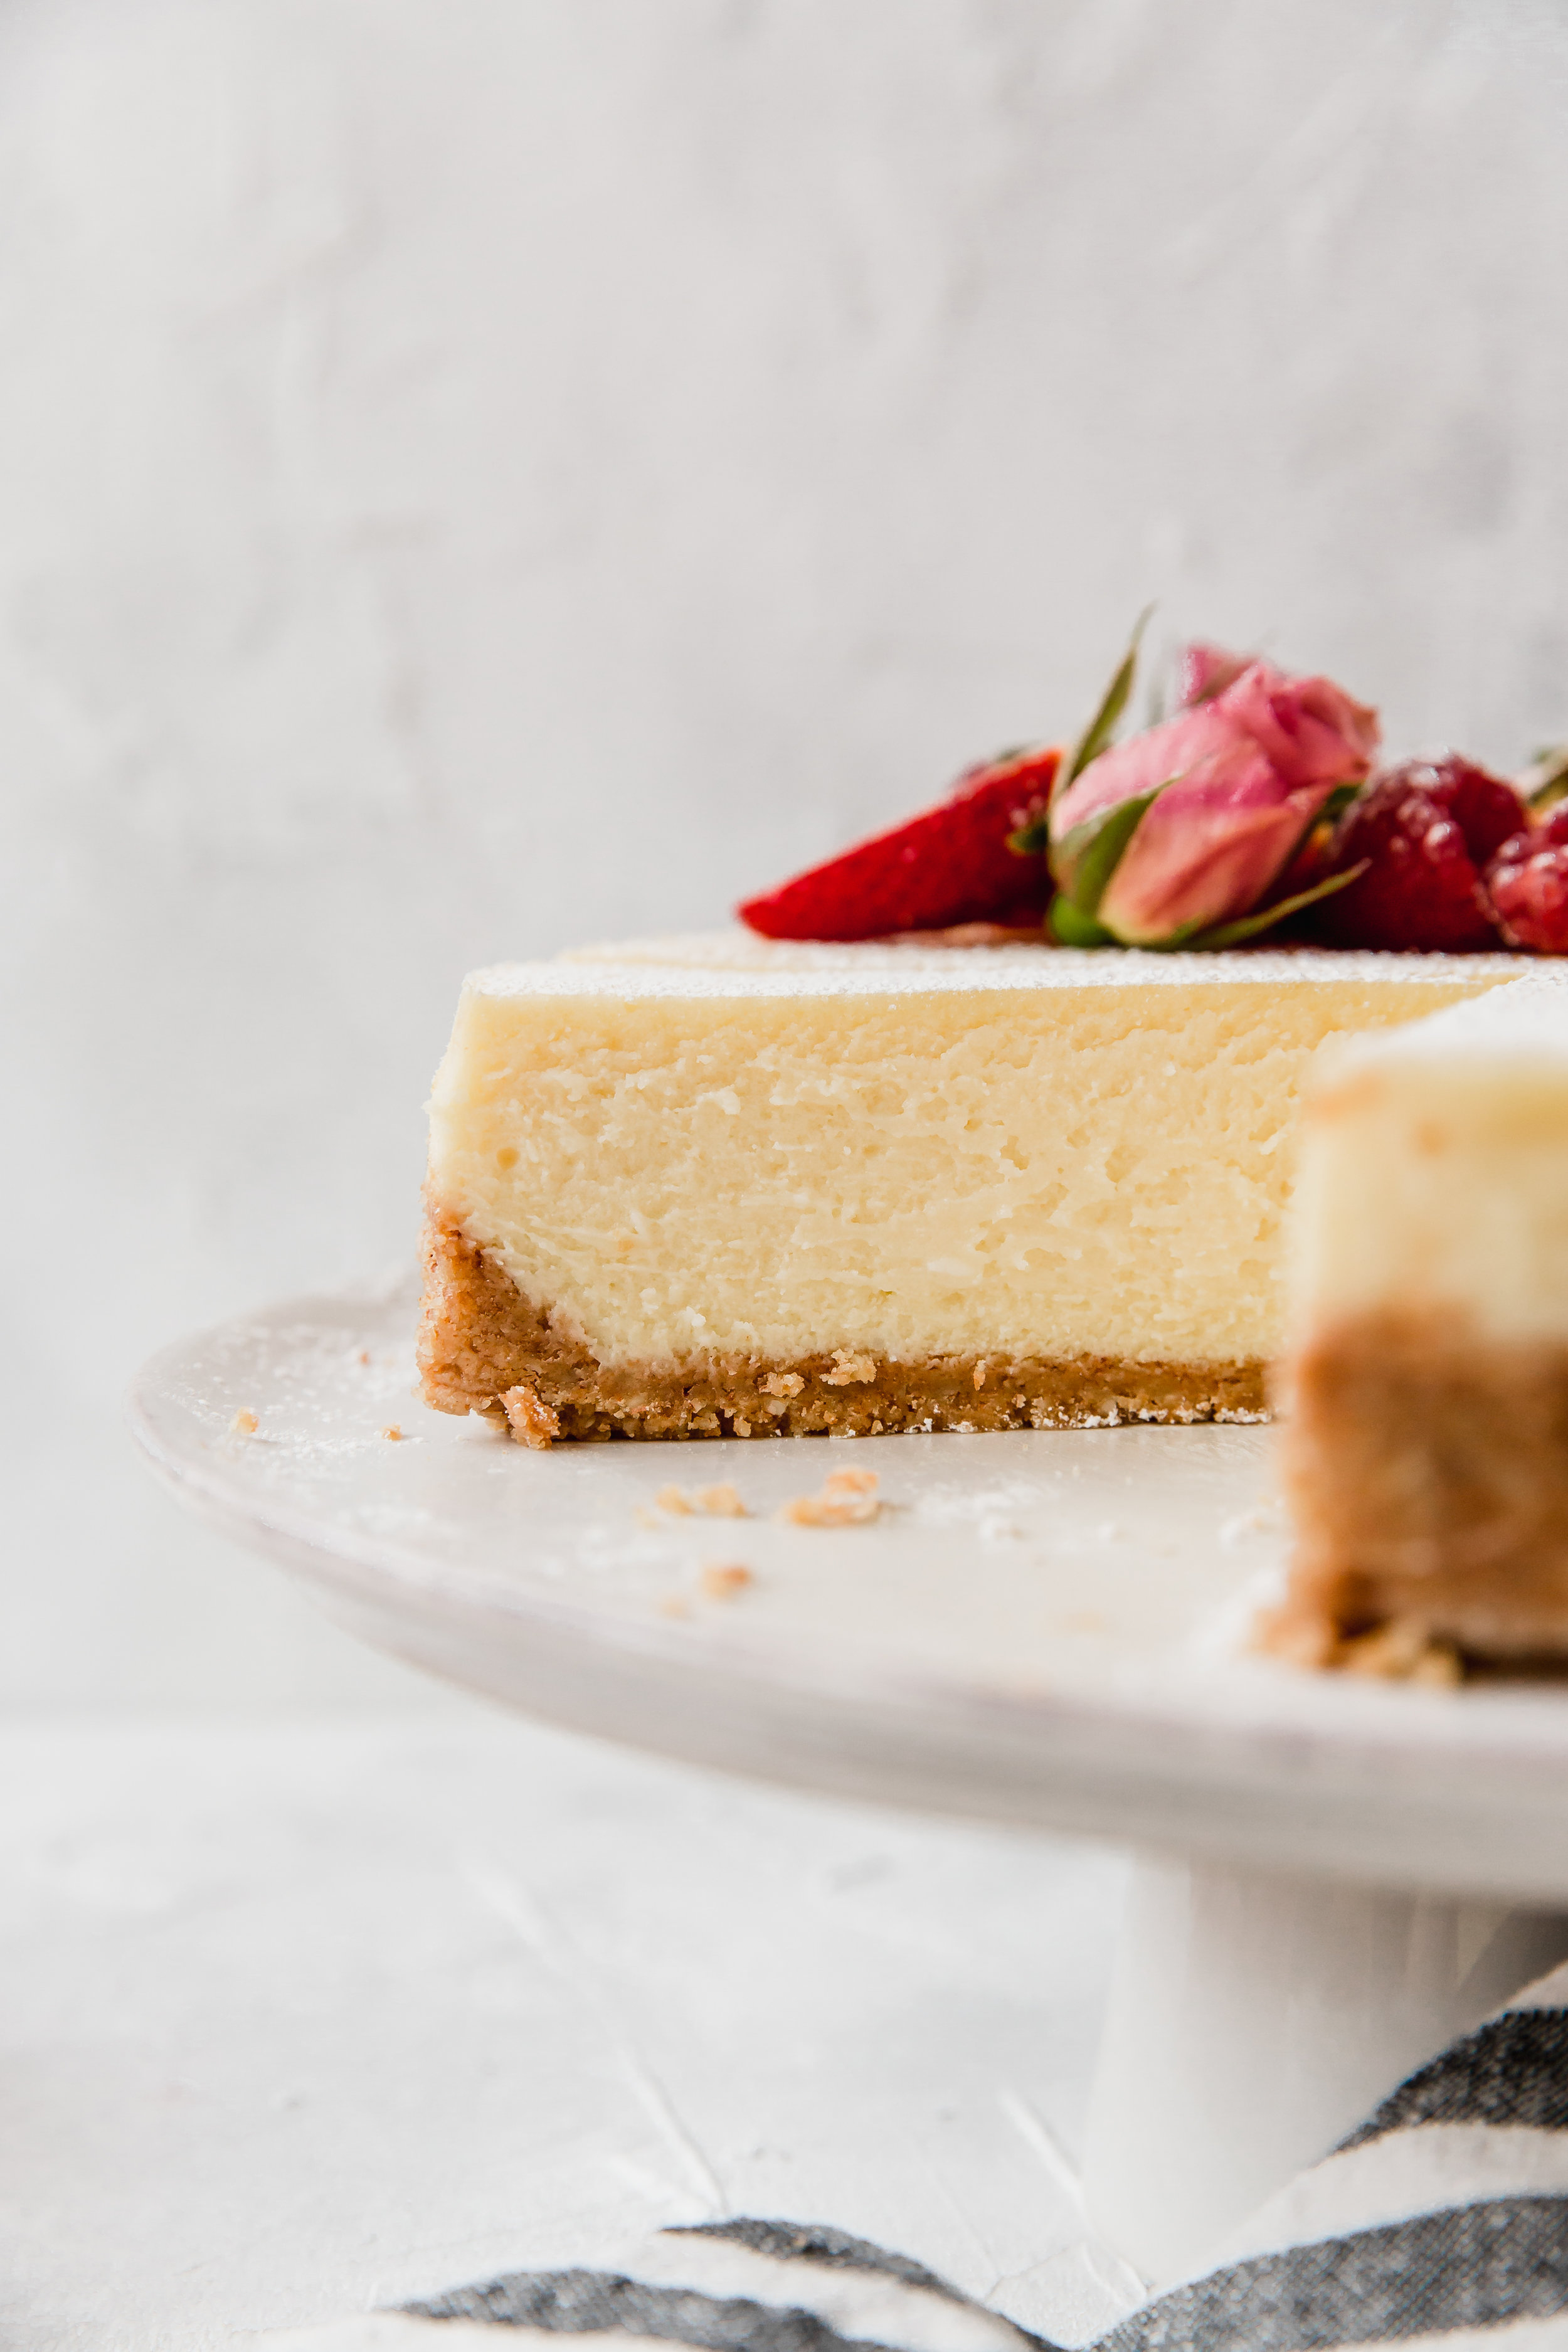
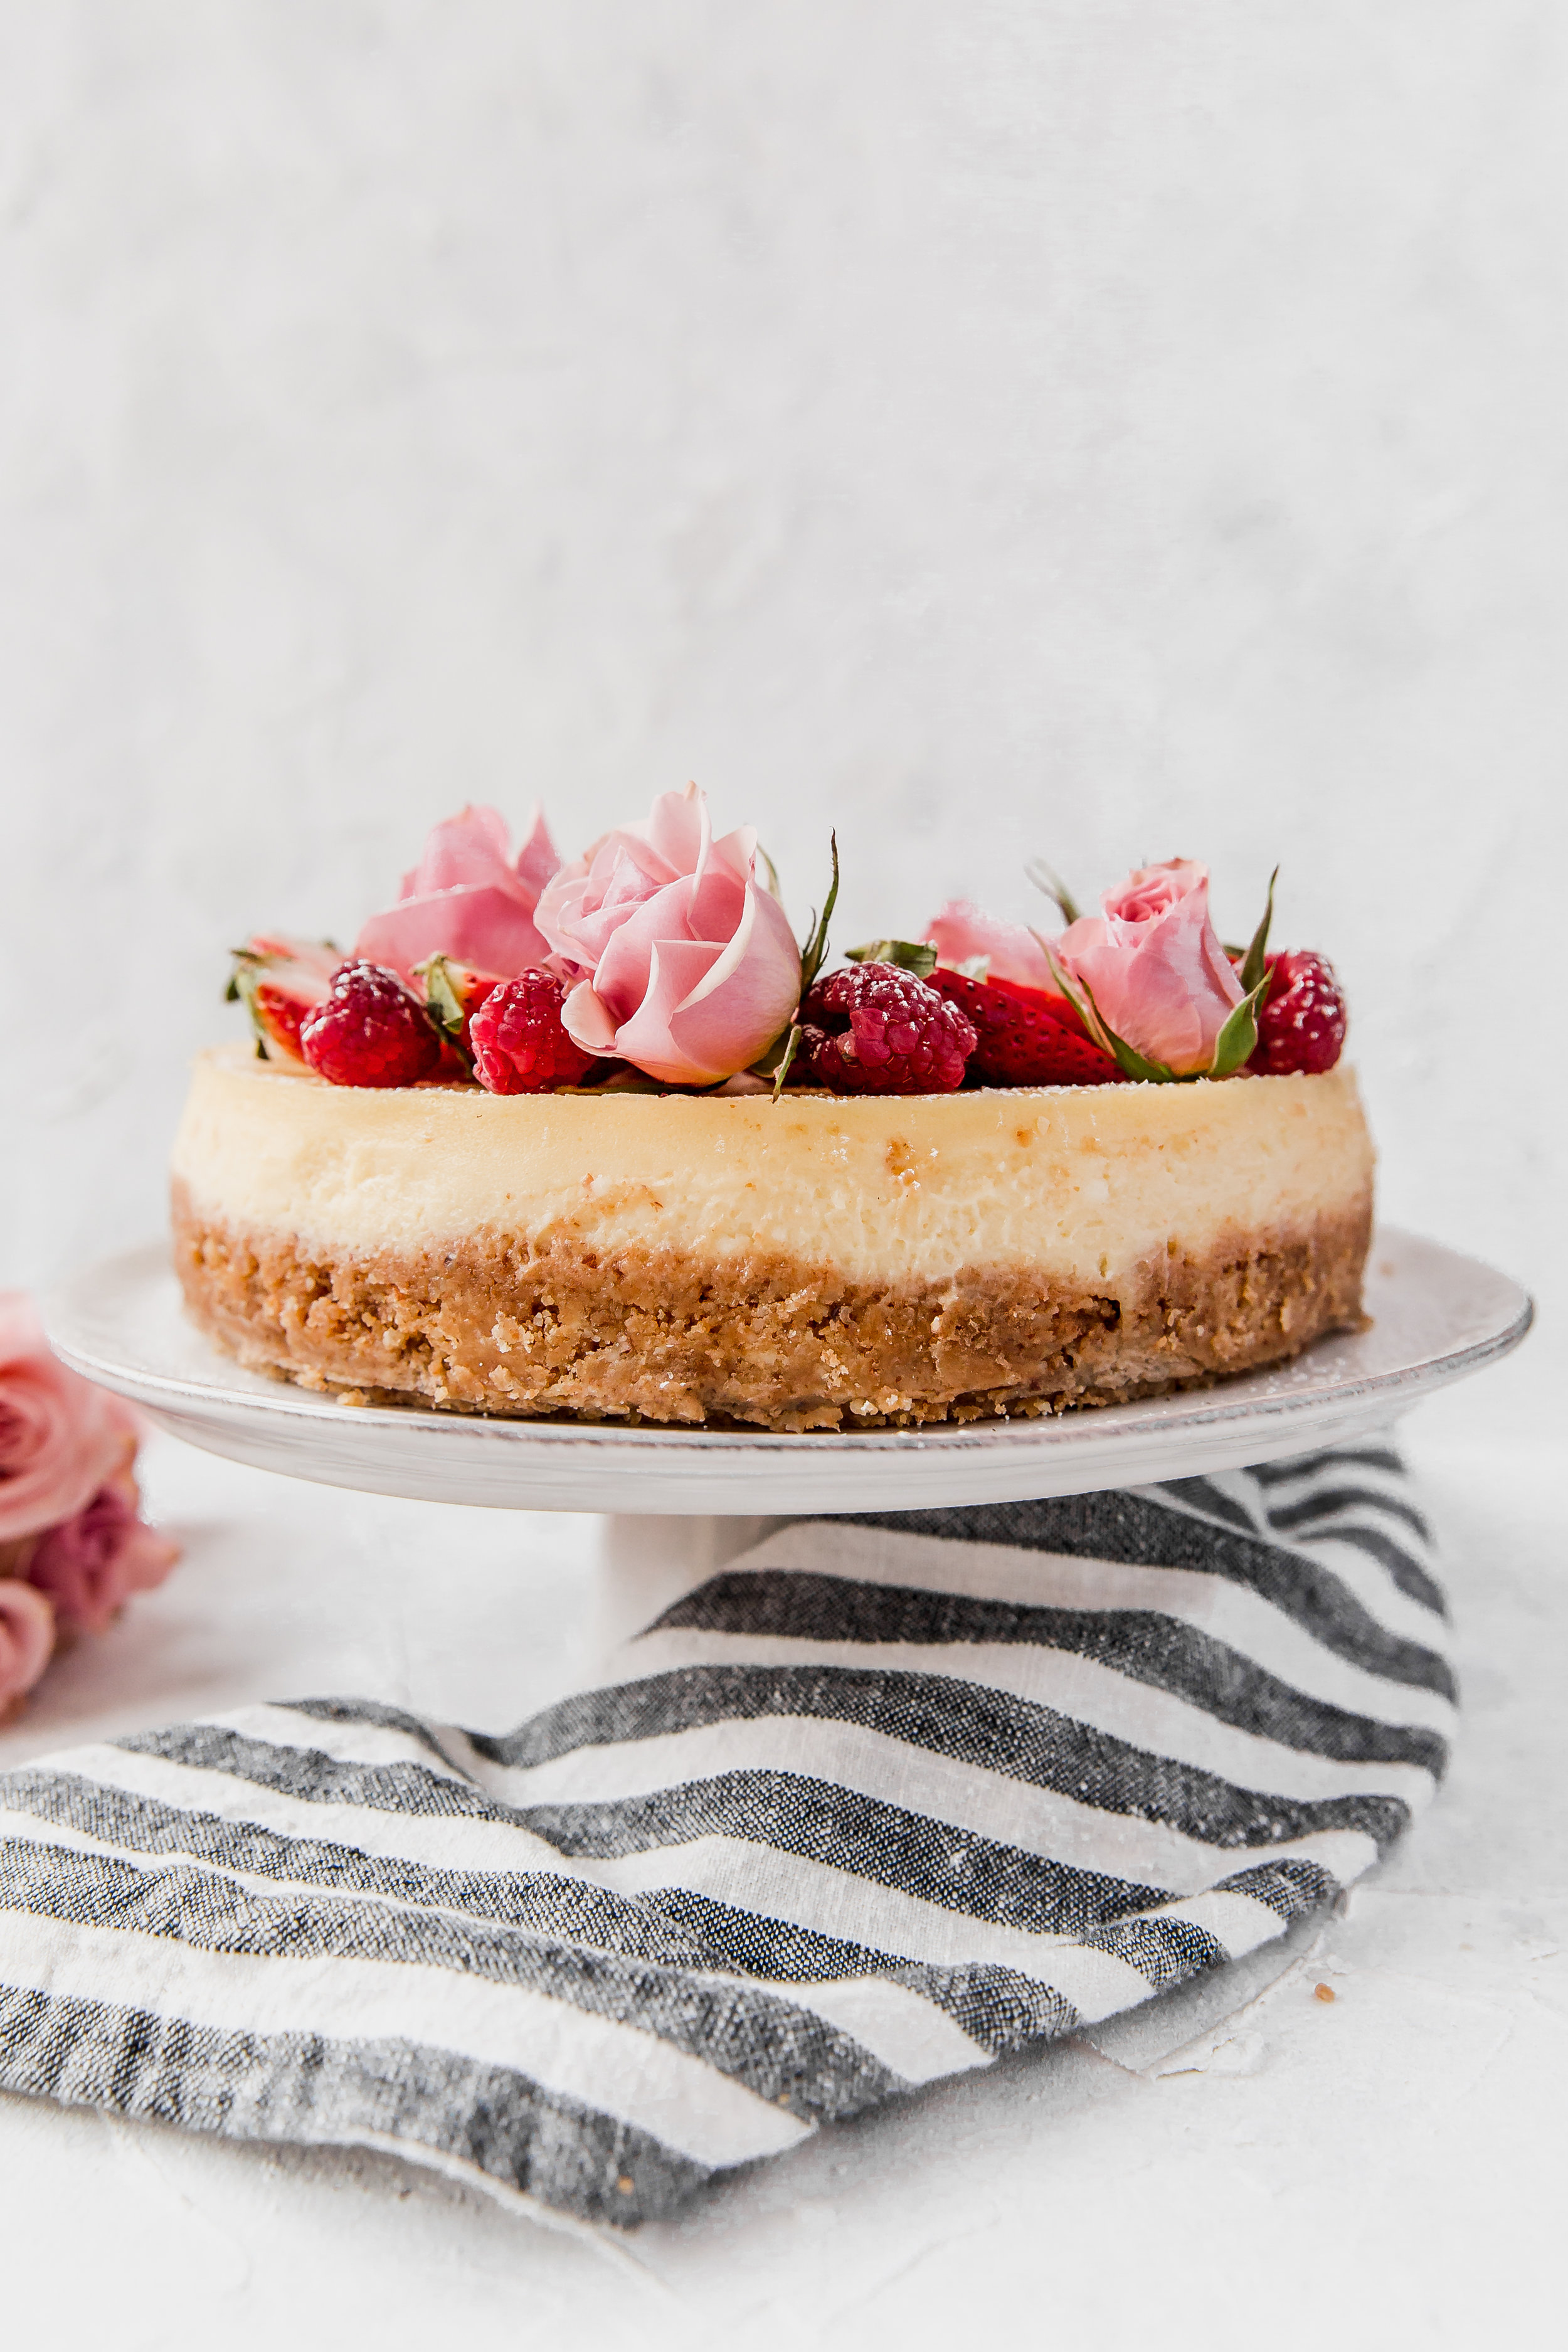
This cheesecake is a little different than most cheesecakes thanks to its addition of mascarpone. If you don’t know what mascarpone is - don’t worry, you aren’t alone! It is essentially an Italian cream cheese. It is one of the main ingredients in the cream portion of tiramisu (which if you like tiramisu, check out this recipe!). When compared to American cream cheese, it has a more buttery taste (which is no surprise since it has a higher butter content than cream cheese), which leads to a richer, creamer texture. In this cheesecake we are using equal quantities of cream cheese and mascarpone, and guys let me tell you - it will simply melt in your mouth. I didn’t add too much additional flavoring to the cheesecake itself because I wanted the cheeses to shine and not get overshadowed. However, I did add some fun extra flavoring to the crust. Rather than a simple graham cracker crust, this cheesecake has ground almonds mixed in with the graham crackers!

Be sure to read the tips to the perfect cheesecake above!
Creamy Mascarpone Cheesecake
Prep time:
Bake time:
Serves: 12Ingredients:
- 1 2/3 cups graham cracker crumbs (about 16 full sheet graham crackers)
- 6 Tablespoons unsalted butter, melted
- 1/3 cup sliced almonds, finely ground
- 16 ounces cream cheese, ROOM TEMPERATURE
- 16 ounces mascarpone, ROOM TEMPERATURE
- 1 1/3 cups sugar
- 3 Tablespoons flour
- 2 teaspoons lemon juice
- 1 1/2 teaspoons vanilla
- 4 eggs, ROOM TEMPERATURE
Instructions:
- Preheat oven to 350F. Line a 9 inch springform pan: place the pan on a piece of parchment paper, and trace the bottom with a pencil. Cut out the circle. Measure the height of the springform pan. Cut out a long strip (or a couple shorter ones) that has the same width as the pan's height - this will circle the inside of the pan. Lightly spray the springform pan with nonstick spray. Line the bottom and side with the cutout parchment paper. Press down so it sticks to the spray, then lightly spray with nonstick spray again. Tightly wrap the pan with 3 sheets of tin foil. This will prevent leaking in the water bath and help to insulate the cheesecake. Set aside.
- In a food processor, blend together the graham cracker crumbs, melted butter, and finely ground almonds*. Mix until it resembles wet sand. Transfer to the lined springform pan. Using an object with a flat bottom, (ie a glass cup, measuring cup, etc) flatten the crumb mixture evenly onto the bottom and slightly up the sides.
- Bake for 10 min. Set aside to cool slightly as you make the filling. Reduce heat to 325F.
- In a standmixer fitted with a paddle attachment, beat the cream cheese and mascarpone on LOW for 5 minutes. Intermittently scrape down the sides and bottom. Increase to low-med for 1-2 minutes, until creamy and smooth.
- Sift in the sugar and flour. Beat on low-medium speed for 1 minute. Scrape down the sides and bottom. Add the lemon juice and vanilla. Beat on low-medium speed for 30 seconds. Scrape down the sides and bottom.
- Boil a pot of water for the water bath.
- With the mixer running on low speed, add the eggs, one at a time. Allow each egg to incorporate before adding the next. Once all the eggs have been incorporated, gently fold the mixture to ensure there are no remaining lumps.
- Hit the bowl on the counter a couple times to remove any air bubbles.
- Pour into the springform pan. Use an offset spatula to evenly smooth the top. Again, hit against the counter a couple times to remove any air bubbles.
- Place the cheesecake in the center of a roasting pan*, then pour the hot water around the cheesecake so that the water is half the height of the cheesecake. Be careful not to get the water onto the cheesecake.
- Bake for 1 hour and 50 minutes*, or until the edge is slightly puffy with a 2-3 inch wobbly spot in the middle. You want the cheesecake to jiggle slightly, with the center appearing soft. You don't want the cheesecake to look soupy.
- Turn off the oven, crack the oven door, and allow the cheesecake to cool for 1 hour inside the oven.
- Transfer to a wire rack. Cool completely at room temperature.
- Run an offset spatula or thin-bladed knife under hot water, then dry it. Run the spatula around the rim of the cheesecake, between the cheesecake and parchment paper. This will help prevent the cheesecake from sticking as it shrinks while cooling as this would lead to cracking.
- Chill uncovered in the refrigerator overnight.
- The next day, again, run an offset spatula or thin-bladed knife between the cheesecake and the parchment paper, running under hot water and drying first. Carefully release the sides of the pan and peal away the parchment paper from the edge.
- To serve: allow the cheesecake to warm slightly before cutting.* Store the leftovers uncovered in the refrigerator.
*Baker’s Notes:
- For the crust: If you enjoy a crunchier crust, add an additional 1-2 Tablespoons of melted butter to the mixture.
- If you don’t have a roasting pan, you can substitute it for a large baking dish or one of the large, cheap all-purpose baking pans you can buy at the grocery store. Whatever you use, you just want to make sure that the springform pan fits inside it.
- Begin checking for doneness around 1 hour and 20 minutes. It never hurts to start checking early since overcooking a cheesecake can lead to cracks.
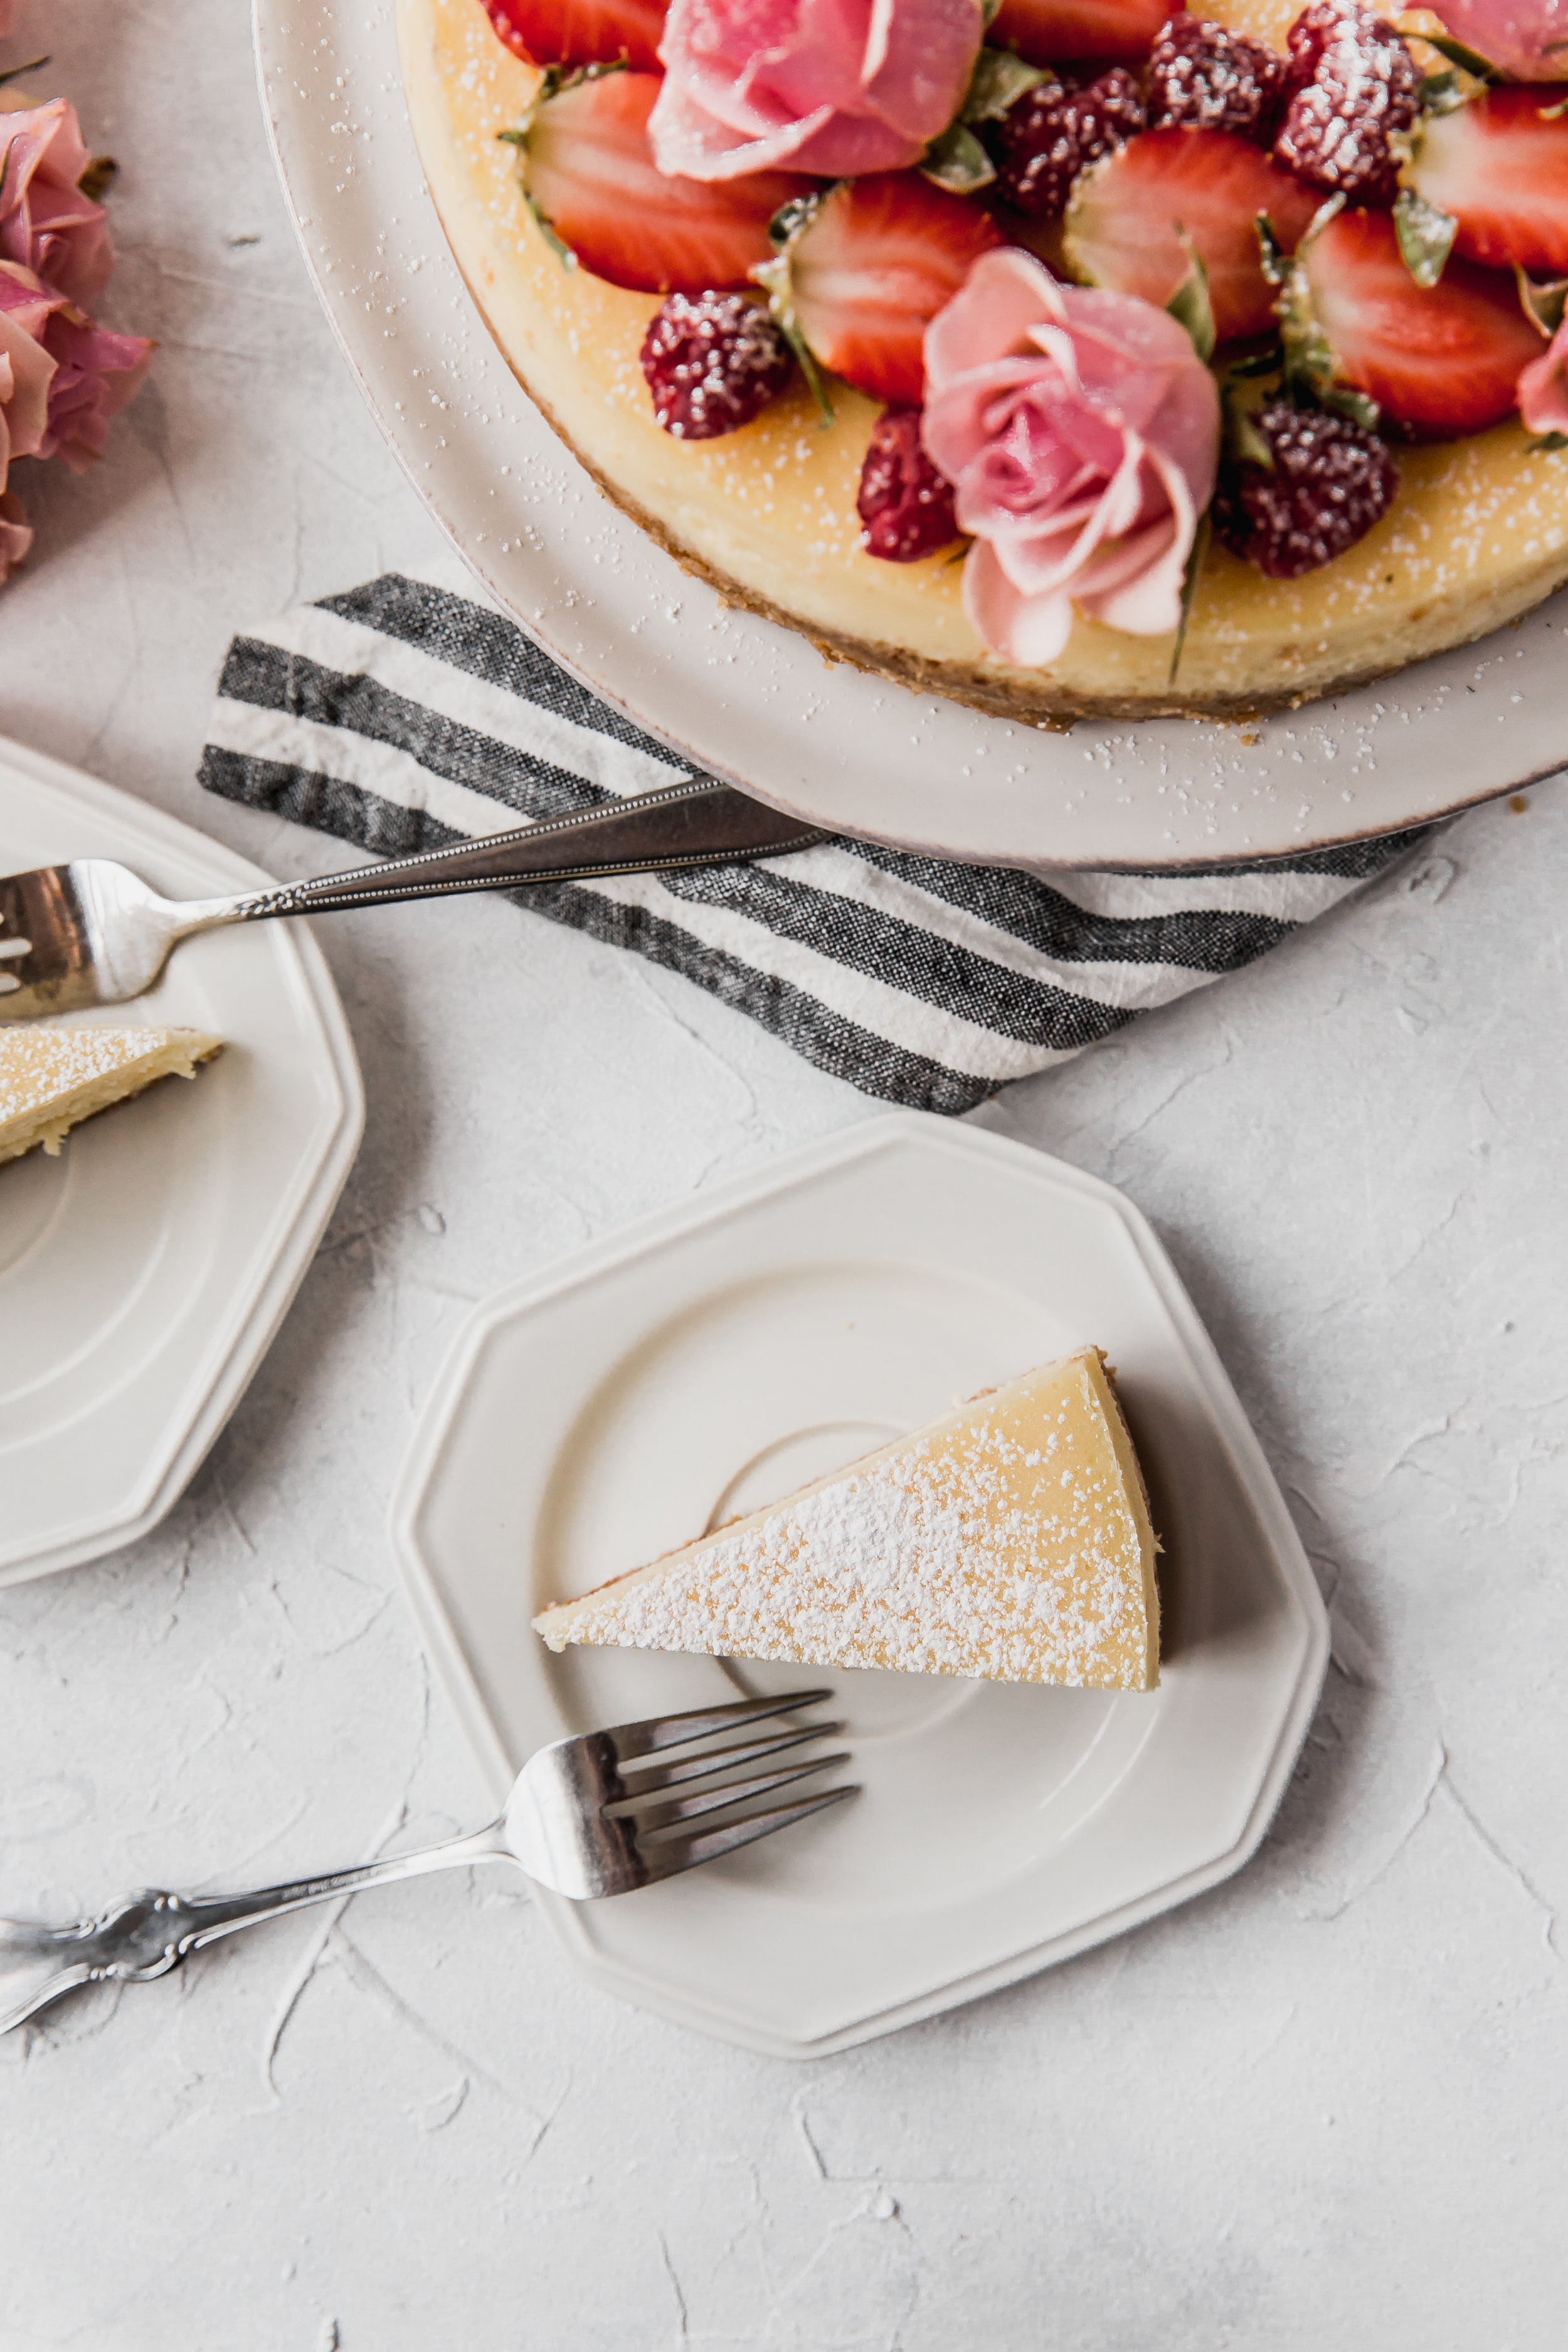
- How to cut a cheesecake like a pro: Use a large, sharp knife. Run the knife under HOT water, then dry it. Make a cut in the cheesecake, pulling the knife through the side (as opposed to lifting straight up). Run the knife under HOT water again, making sure to get rid of any crumbs, dry it, make another cut, and then repeat.